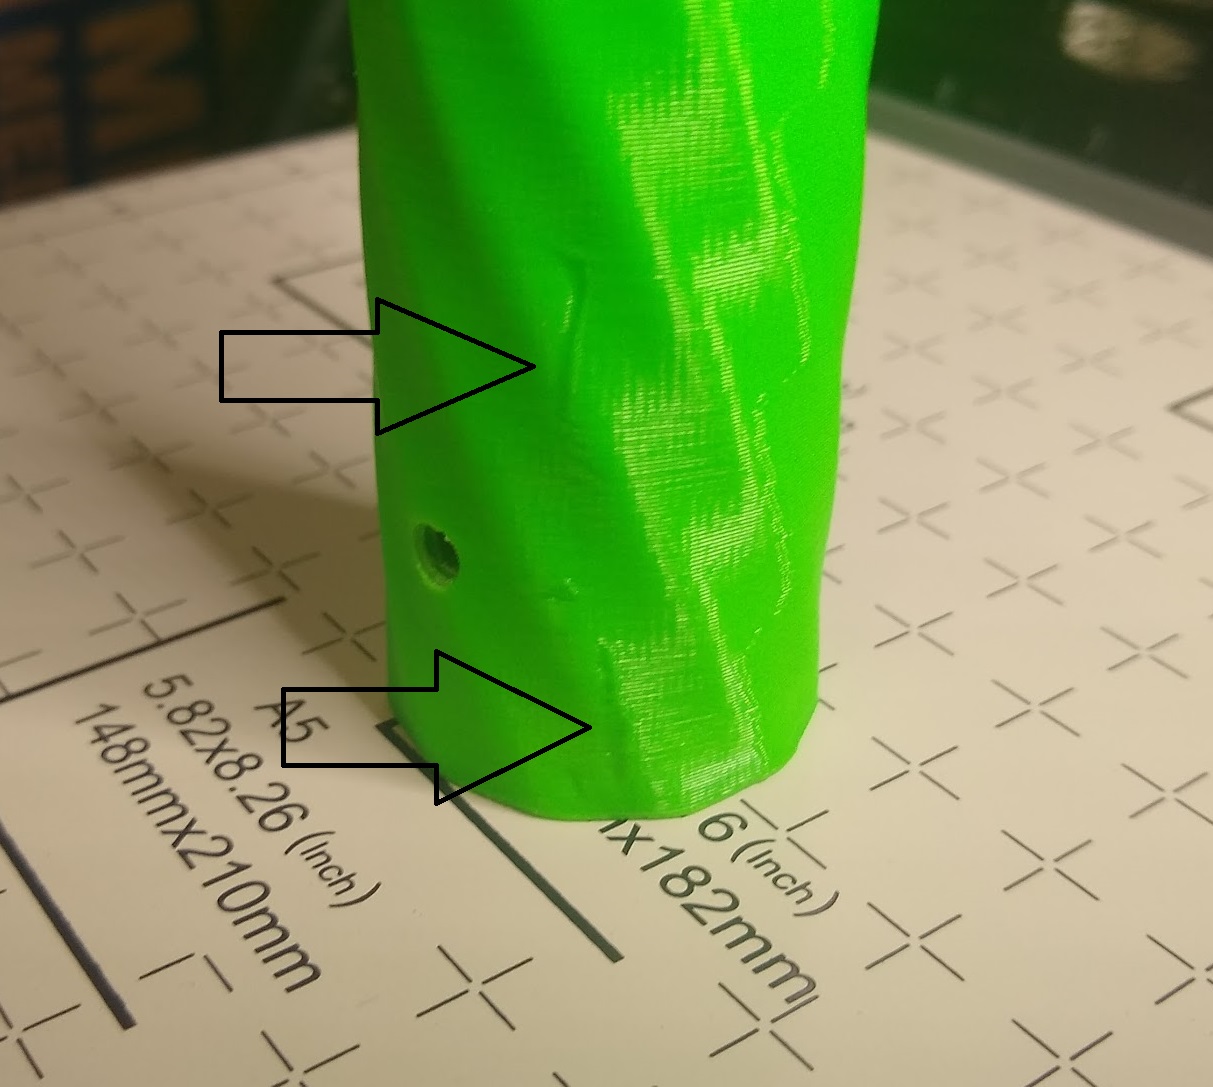
I have been printing for a while and have settled mostly on a 0.3mm layer height with a 0.4mm nozzle for nearly all of my printing. Since my printing tends to be functional/structural, the larger layer height is an advantage due to the increased strength. The issue is that with ABS, the overhang performance is not as good as it could be which significantly affects printing threads. I can print 40° with no issues and usually get by with some 45° overhangs but there is some drooping.
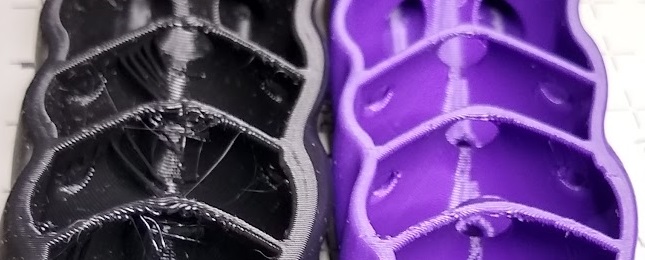
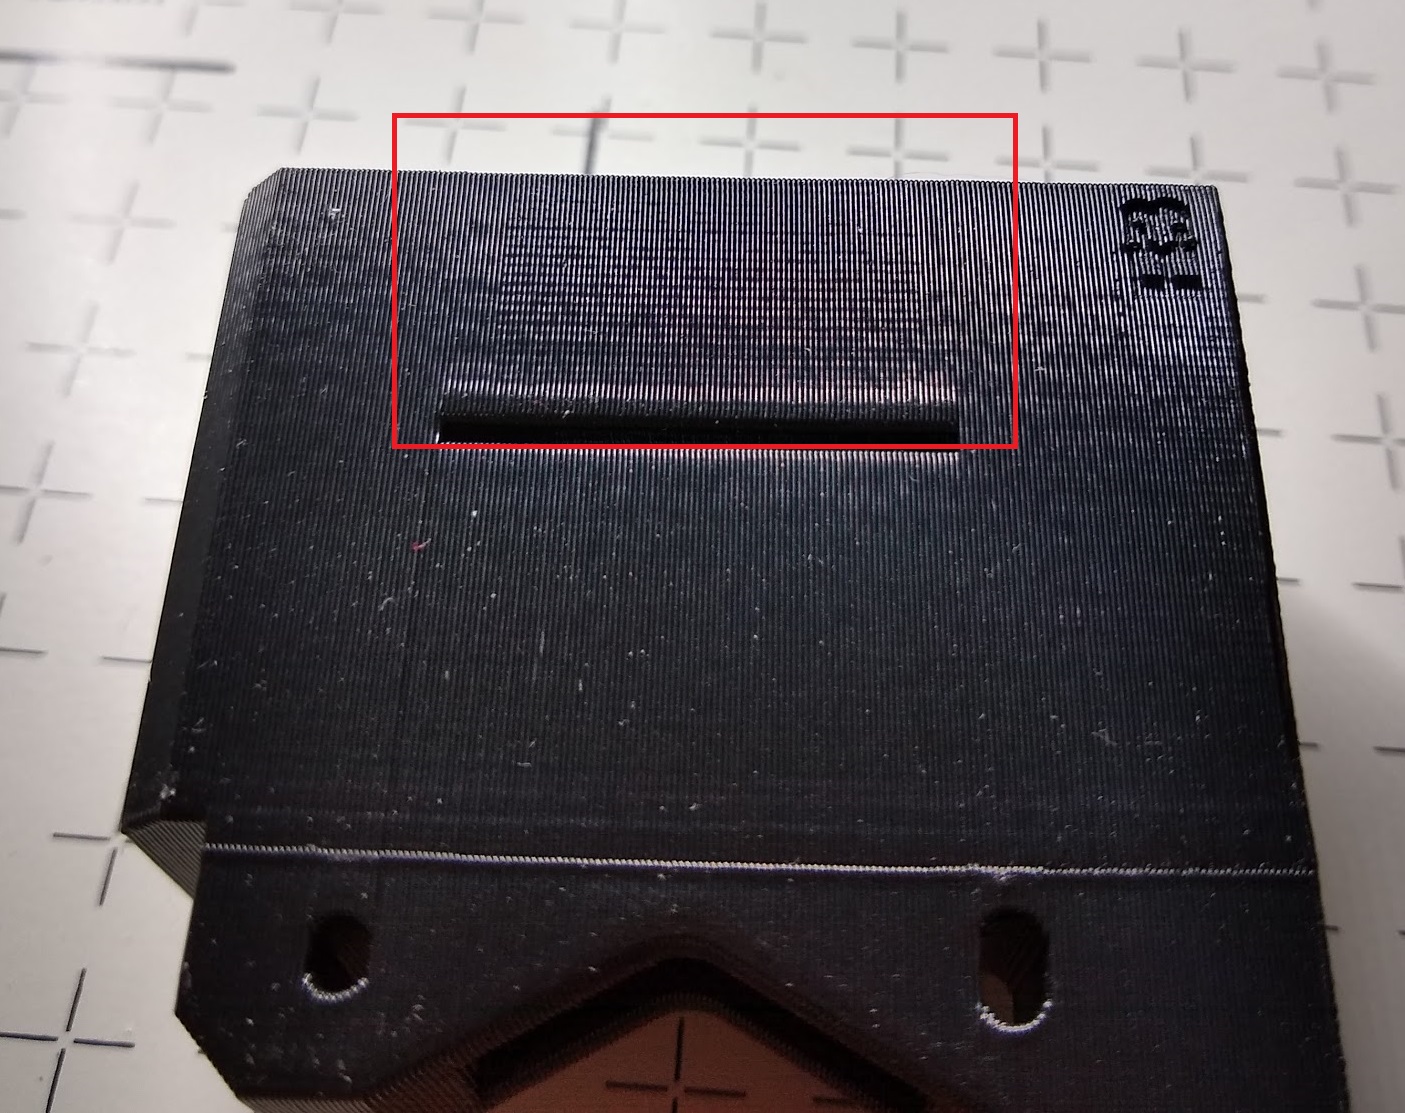
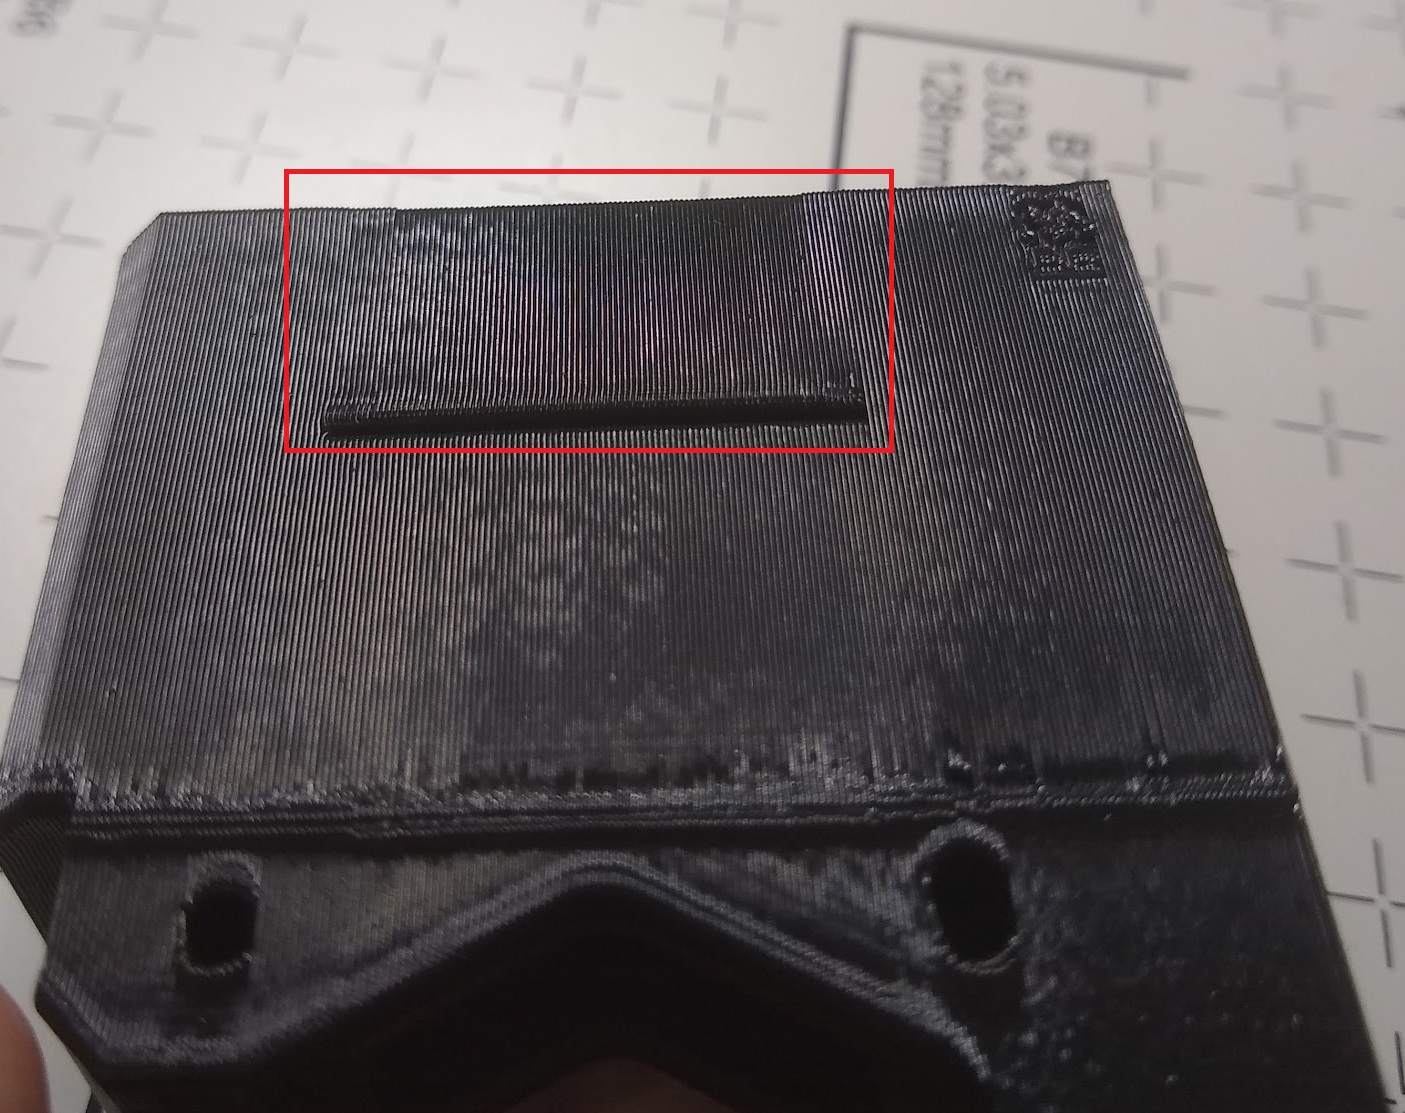
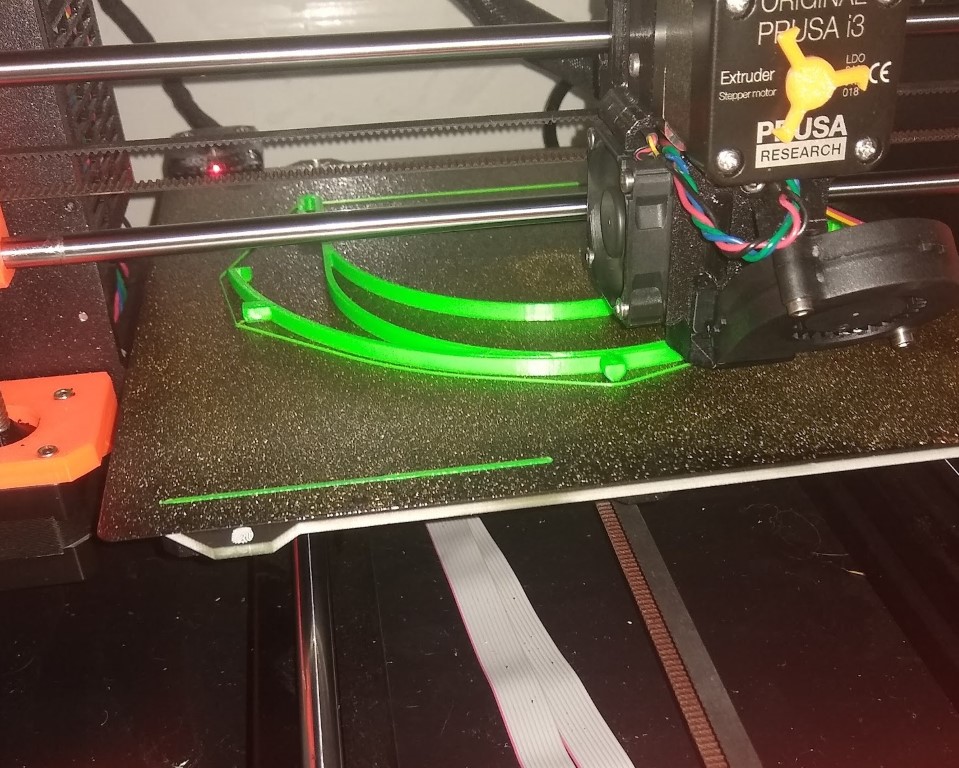
The black object is at 0.3mm and the purple object is at 0.25mm. Notice the internal "stringing" / drooping on the black part that is the filament not adhering to the previous layer due to the 45° conical overhang. The 0.25mm layer height and new settings printed the purple part.
After trying many settings (temperature, cooling time, speed, extrusion widths, etc.), I have been unable to come up with settings that reliably print overhangs using 0.3mm layer height with a 0.4mm nozzle without a significant reduction in speed.
Going through many overhang tests, I found that following help:
Reducing speed (<15mm/s)
Increasing extrusion width (>0.65mm)
Reducing layer height (<0.3mm)
I printed a number of overhang tests with 0.2mm layer height and nearly every one of them worked to about 55° with few issues. I liked the performance of the 0.2mm layer height but I wasn't quite ready to accept the additional print time.
After brainstorming, I came up with trying a compromise 0.25mm layer height. Surprisingly, it worked nearly as well as the 0.2mm layer height and is much faster.
Also, since ABS doesn't like fan cooling, overhangs will turn out much better if you print more than one test object to allow the ABS to cool some between layers. Alternatively, you can slow down the speed or do a pause between layers.
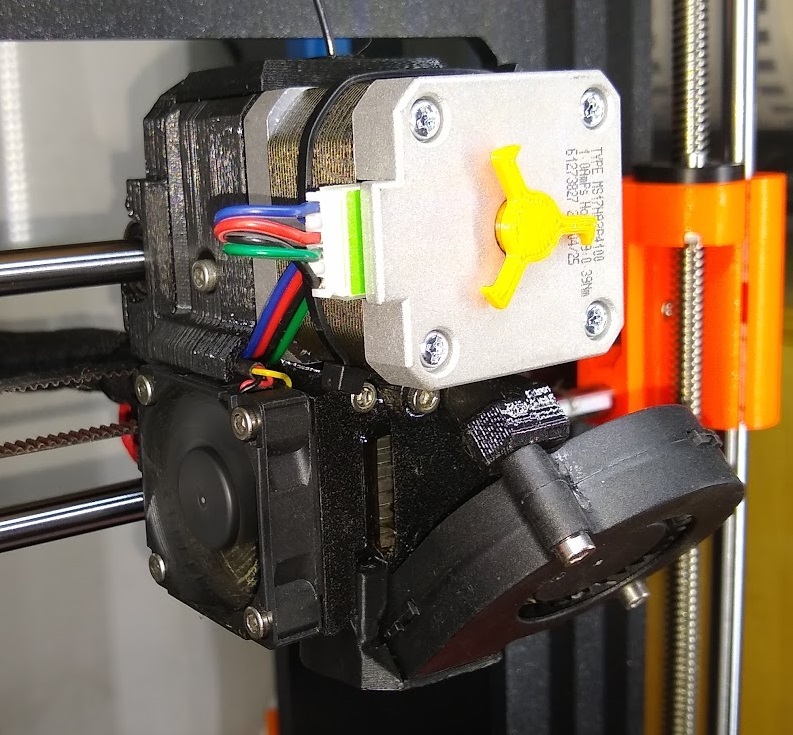
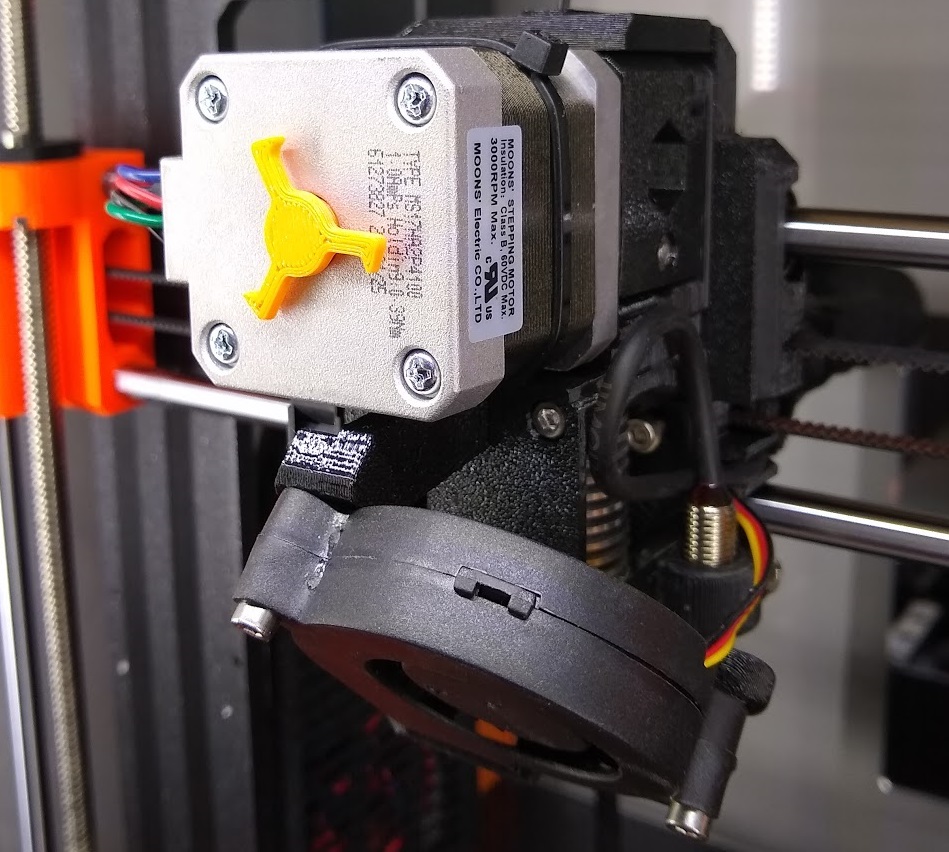
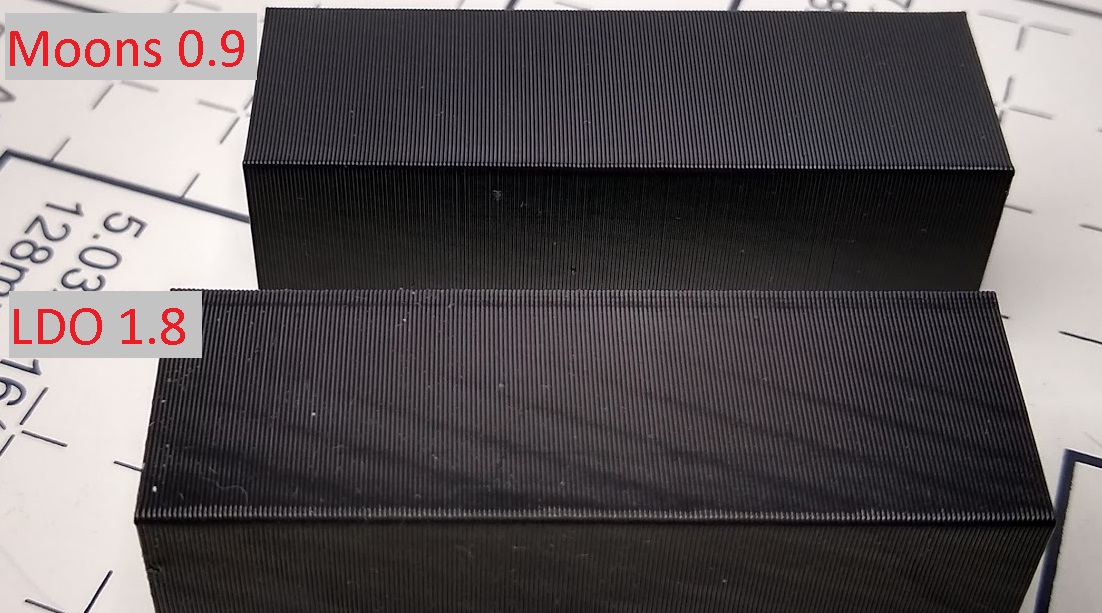
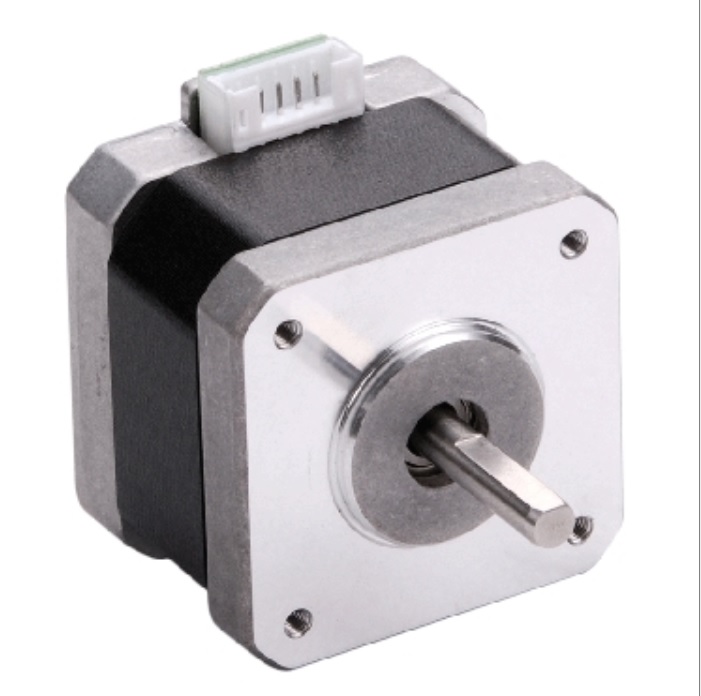
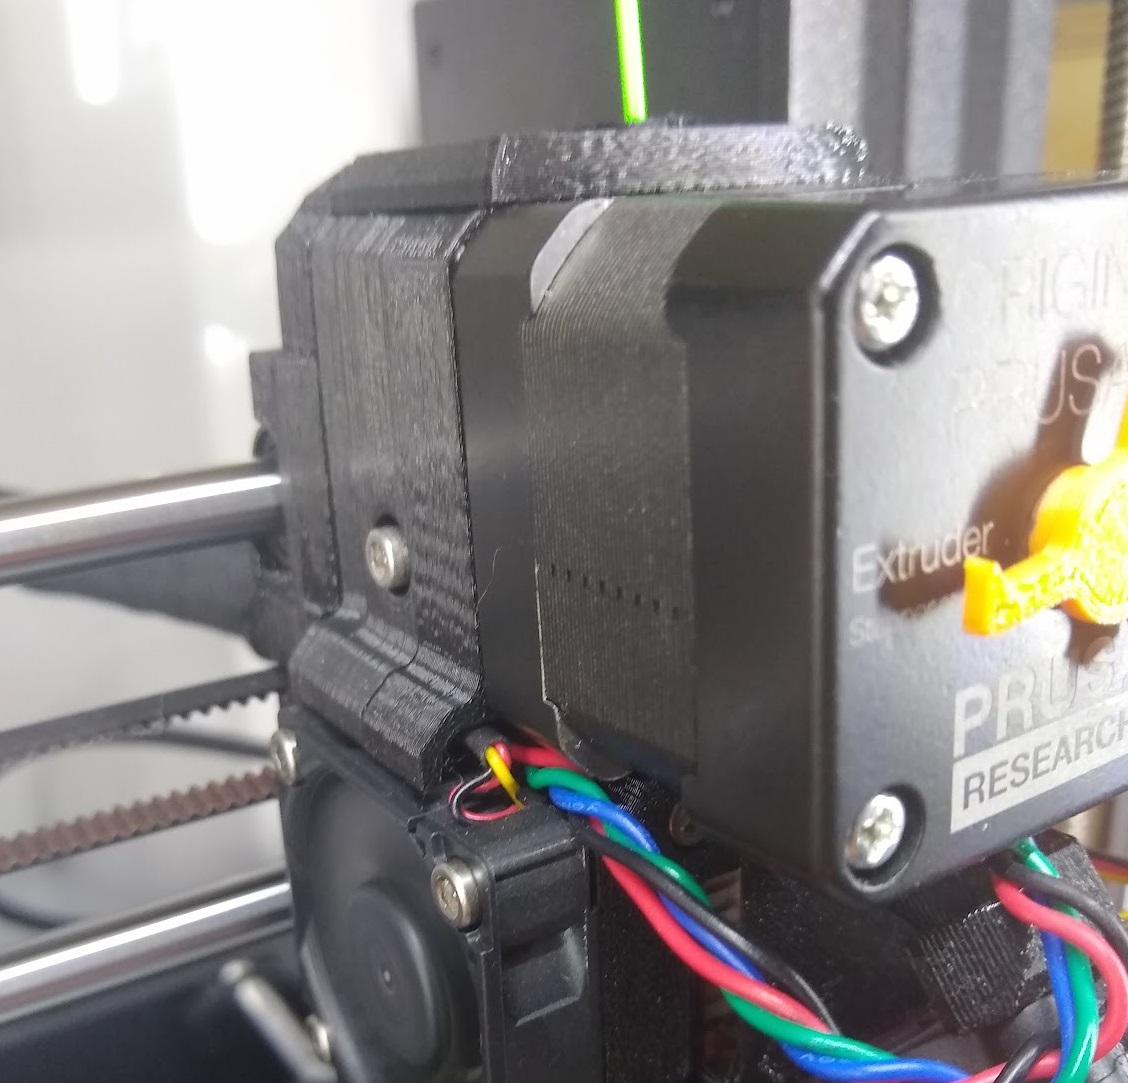
Swapped out the MK3S Extruder Stepper with a Moons 0.9° Motor
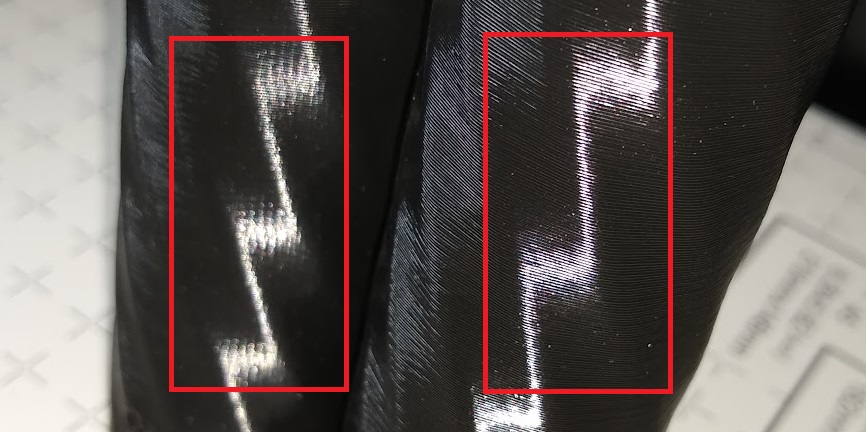
Now that I've fixed many things including print settings, Vertical Fine Artifacts, etc., the Moire effect from the LDO extruder motor has become much more evident in my prints. After researching this, I found that many people are able to use the Extruder Motor Linear Correction to adjust the stepper motor to reduce this effect. For me, after many tries, I could see no difference between any of the settings in the range of 30 to 200. Since I had one motor left over from the Moons X/Y motor swap, I decided to go ahead and install it on the extruder.
This is the exact same g-code that I printed before and after the motor swap. It's hard to photograph but it's a huge difference. I wish that Prusa had offered the 0.9° Moons motors as an upgrade option when new.
Just as with the X/Y upgrade, this site was very helpful with the wiring and lists the items needed for wiring the upgrade.
The mechanical connection and electrical wiring is exactly the same for the Moons MS17HA2P4100 motor but an additional firmware modification is required.
I pulled the firmware mods from guykuo github repository, updated the configuration, and rebuilt it for my Prusa MK3S printer using Moons 0.9° motors on the X, Y, and E axes. Here is the Firmware that I rebuilt for Moons 0.9° X, Y, and E motors. I have tested it on my MK3S and it works great. You flash this firmware in the same way as normal firmware upgrades by connecting a USB cable to your printer then using the Configuration -> Flash printer firmware option in Prusa Slicer and choosing the new .hex firmware file.
Changed my Prusa MK3S Y-axis from 6mm rods/bearings to MGN12 Linear Rails/Guides
I tried a few different rods and bearings for the Y-axis but they all seem to have some degree of racking. You can check this by holding the left side of your bed solid and trying to move the right side forward/back. Any amount of movement implies that there is some amount of rotational movement on the bed when the y-axis moves.
MGN12 is a size specification for linear rails. These are a rectangular rail with grooves on the sides where recirculating ball bearings in the guides run in. These are much more rigid than 6mm rods/bearings because of the larger bearing surface and longer bearings.
I didn't want to install something that significantly changed the printer's travel limits. I designed the mounts to directly fit onto the printer with no drilling or other major modifications.
3d printed rail mounts (2x Front, 2x Back, and 1x Calibration Spacer) FILES HERE
The mounts are designed to have the same height as the stock 6mm rods/bearings to allow the stock firmware calibration routines to work properly. The front mounts are identical and I print one of the back mounts mirrored (so both of the back t-nuts can be inserted more easily). The calibration spacer is required to use the stock xyz calibration because the MGN12 Rails/Guides have about 6mm more y travel towards the back of the machine and if you don't clip this on then the stock xyz calibration can't find the first calibration point.
MGN12 Rail / Guide Preparation
You need to end up with 2x 330mm MGN12 rails and 3x MGN12 Guide Blocks. The left rail needs to have 2x Guide blocks and the right rail needs 1x Guide blocks installed on it. The 3 rails will come with one guide block installed on each. I recommend that you put the rails end-to-end and carefully move the guide blocks all to a single rail. If you take the guide blocks off of a rail without sliding to another rail then there is a danger of the ball bearings falling out and not being usable. For the 2 empty rails, use a Dremel cutoff wheel or other method to cut the rails to the 330mm length and deburr the ends with a file or sandpaper. After cleaning the rails of all dust and metal filings, move 2x of the MGN12 Guide blocks back to one of the 330mm rails and move 1x of the MGN Guide blocks to the other. At this point, the blocks should fit well and move freely with no noticeable play. If you have binding or play, cut the other rail to 330mm and see if that one works better -- if not, you may need a new rail or guide block to fix the issue.
Rail Mount Printing
This is pretty straightforward, print in ABS, PLA, or other durable material at 0.3 or 0.2mm height. These are designed to require no supports or brim. THE FILES ARE HERE
Assembly
Remove the print bed and Y-carriage per the Prusa instructions
Remove the 6mm bearings, rails, and mounts.
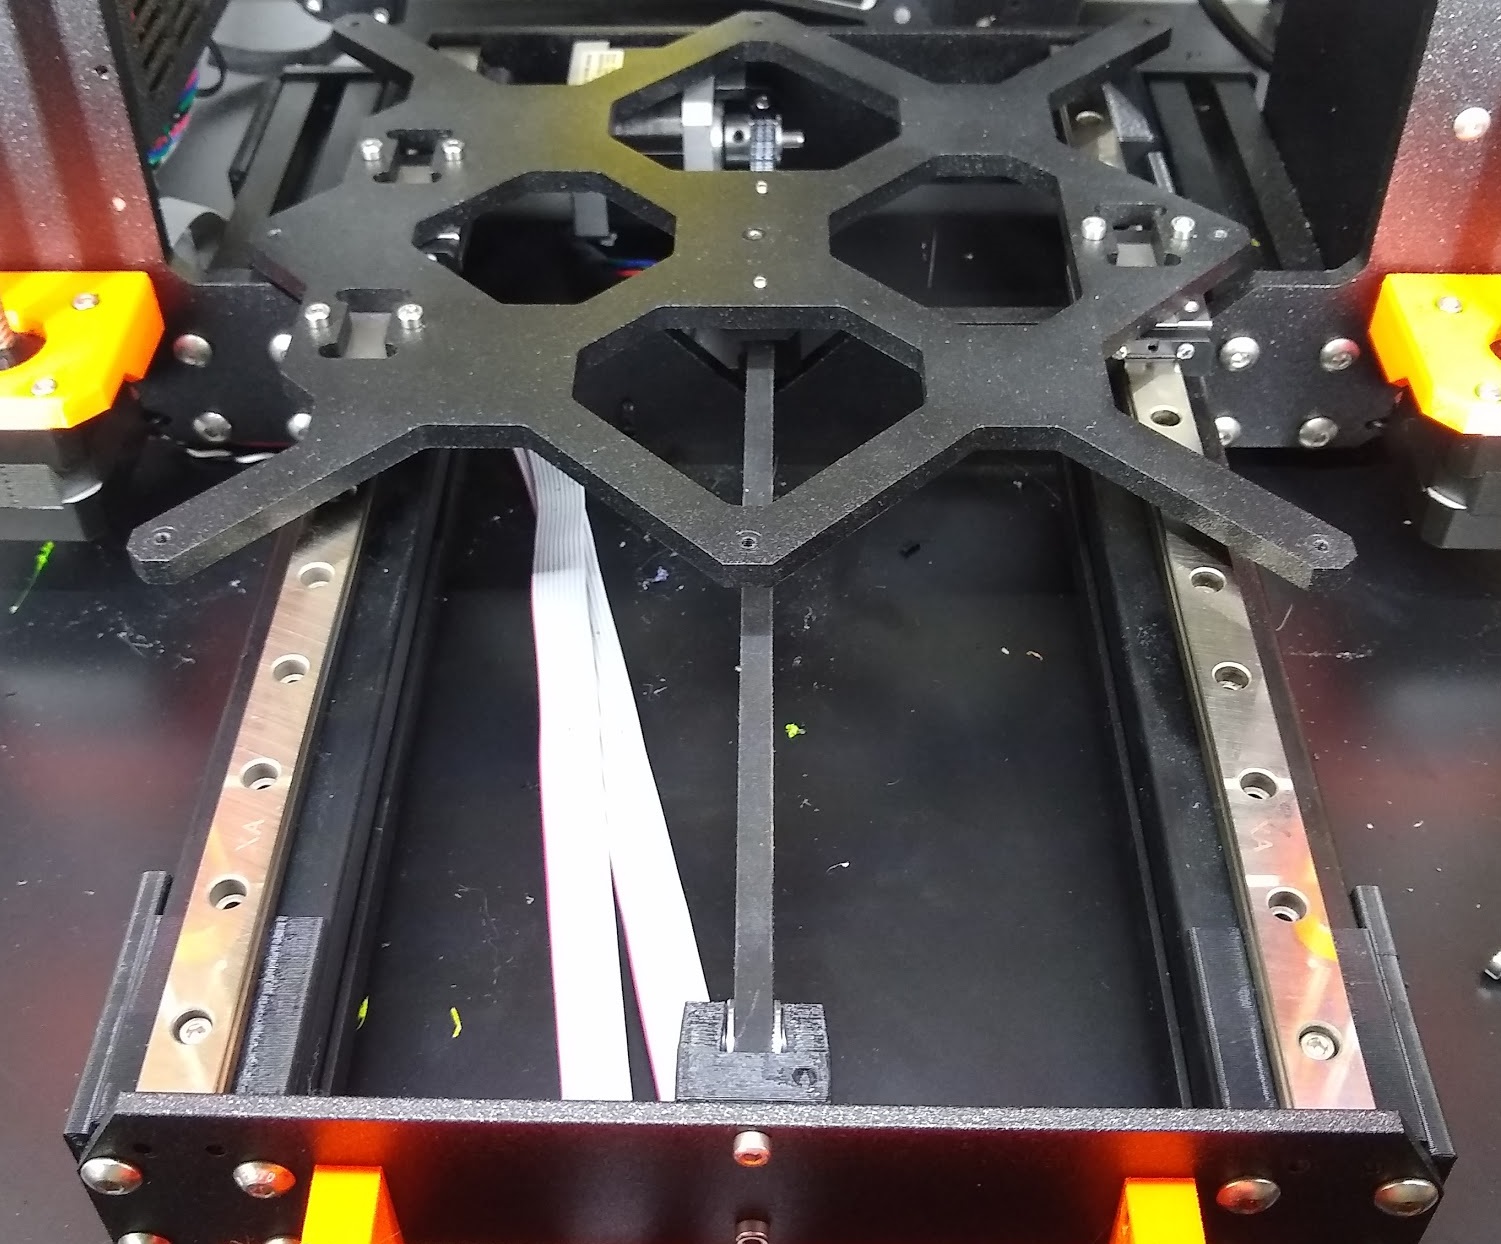
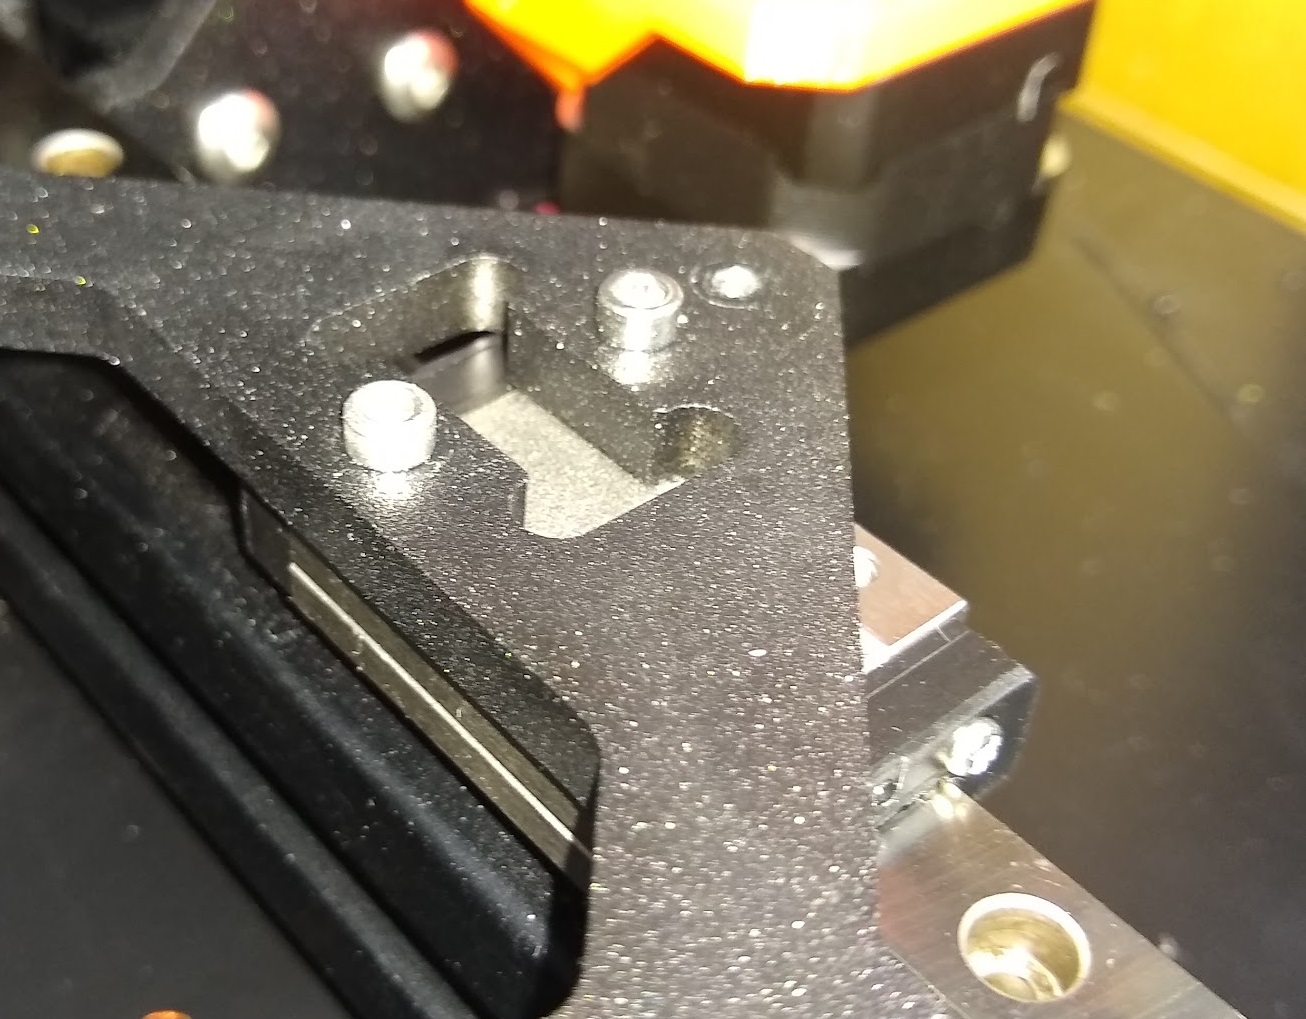
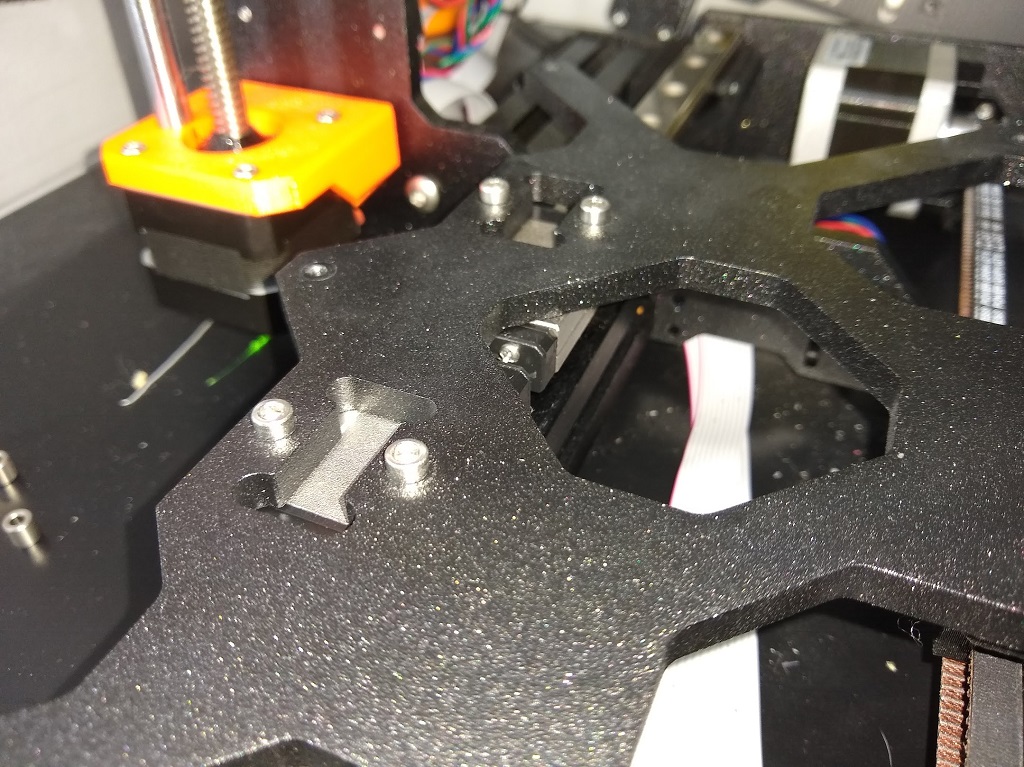
Use the 3030 M3 T-nuts and M3 screws to mount the two back mounts to the 3030 extrusion as shown.
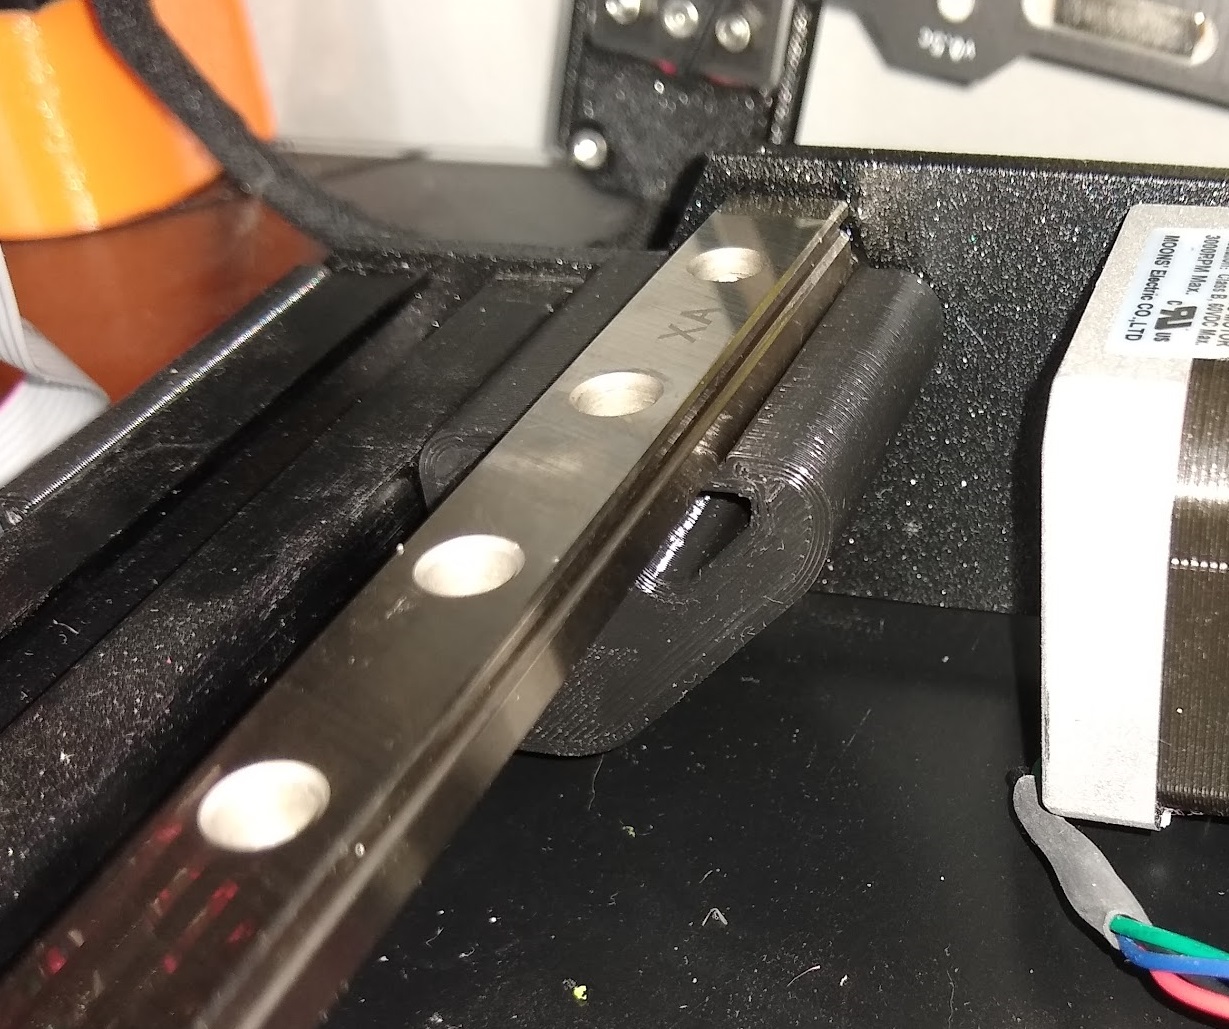
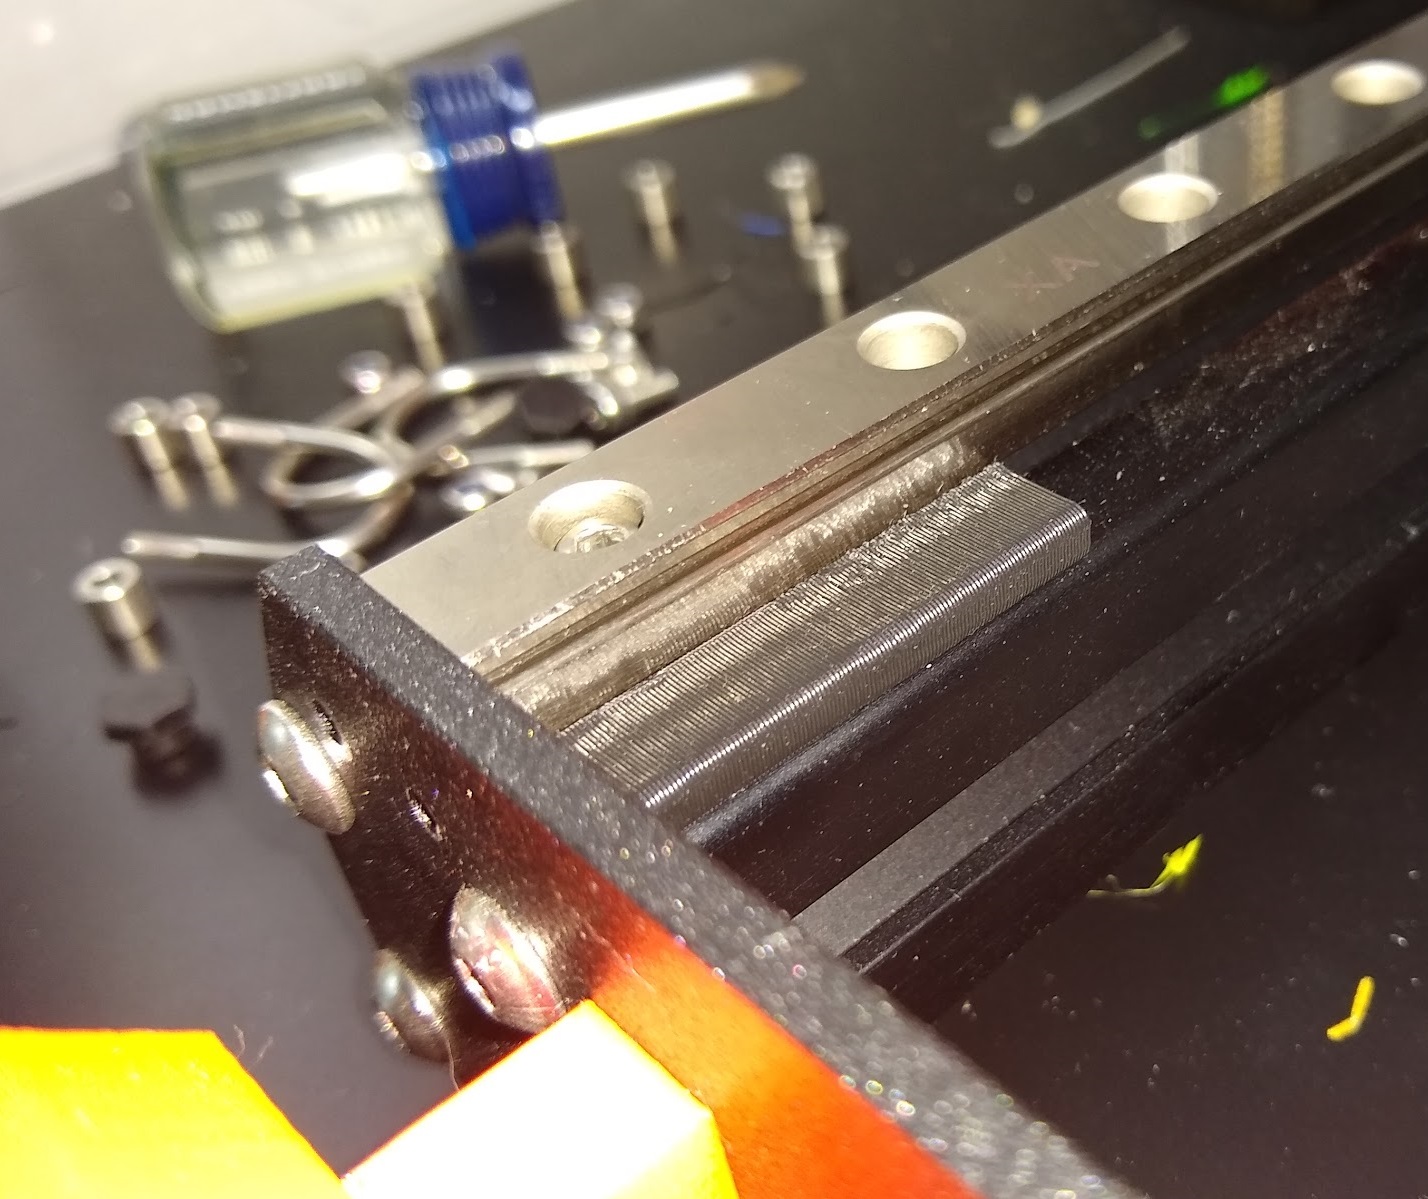
Place the front mounts on the 3030 as shown and use the 3030 M3 T-nuts and M3 to attach the MGN12 rails to the front and back mounts (the non-cut side goes toward the front of the machine). Don't tighten the rail-to-mount screws yet.
Make sure the left rail is seated in the mounts well and slide it to the left to index it properly (square to the machine) and tighten the front and back screws
Using the M3 screws taken from the 6mm rod mounts, screw the Y-carriage to the MGN12 guide blocks using 2 screws for each block. The left side blocks should use the holes that place the mounts closest to each other. The right side doesn't matter which set of holes is used.
After making sure that the left rail mounting screws are tight and all Y-carriage-to-MGN12 guide block screws are tight, move the y-carriage to the front of the machine and tighten the front right rail screw. Move the y-carriage to the back of the machine and tighten the back right rail screw.
Reassemble the bed per Prusa instructions
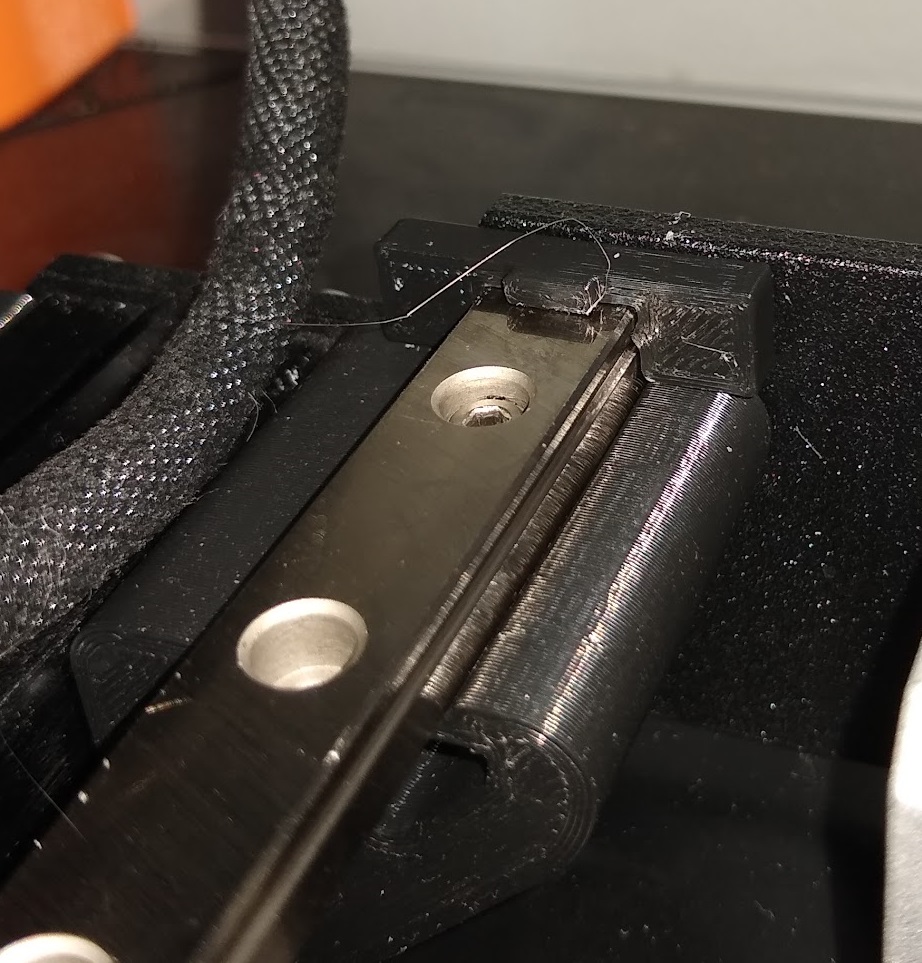
If you are using the stock (or similar) firmware, you need to snap the calibration block on the left rail at the back so the machine can auto-find the first calibration point.
The Y-carriage should move smoothly and should have no noticeable racking play.
You should now be able to go through the xyz calibration and first layer calibration.
Upgraded my Prusa MK3S to Moons 0.9° Stepper Motors to Eliminate VFA (Vertical Fine Artifacts)
These are a direct mechanical replacement for the stock Prusa X and Y Stepper motors. The issue that I was seeing was Vertical Fine Artifacts when moving at 20 to 35 mm/s. This appears to be caused by resonances from the motors when operating at certain speeds. You can often hear that at certain speeds the machine vibrates. I believe that is what was causing my issue.
The mechanical connection and electrical wiring is exactly the same for the Moons MS17HA2P4100 motor but an additional firmware modification is required.
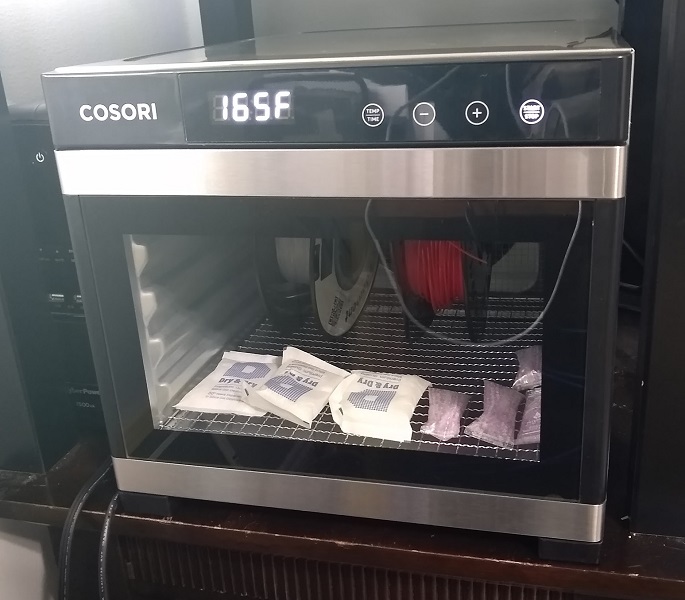
Just got this new Cosori Food Dehydrator to use for drying filament. I purchased it from Amazon for about $160. It will hold 6+ reels of filament and I'm doing a test run with a couple of rolls and a few wet dessicant packets. My previous drying attempt used our kitchen oven set to convection mode at 200F (93C) which dryed the ABS well but the filament reel seems to be made of something that doesn't like a temperature that high because it warped:
Reliable Prusa MK3S ABS Printing
I often hear of people who have given up on printing with ABS due to a variety of issues. They ask me how I'm able to reliably print using ABS without these issues. I have had lots of issues along the way including cracking, adhesion, overextrustion, underextrusion, ghosting, vertical artifacts, the spaghetti mess, and others. I've solved / avoided many of these issues and hopefully this page will help others to print better quality ABS objects.
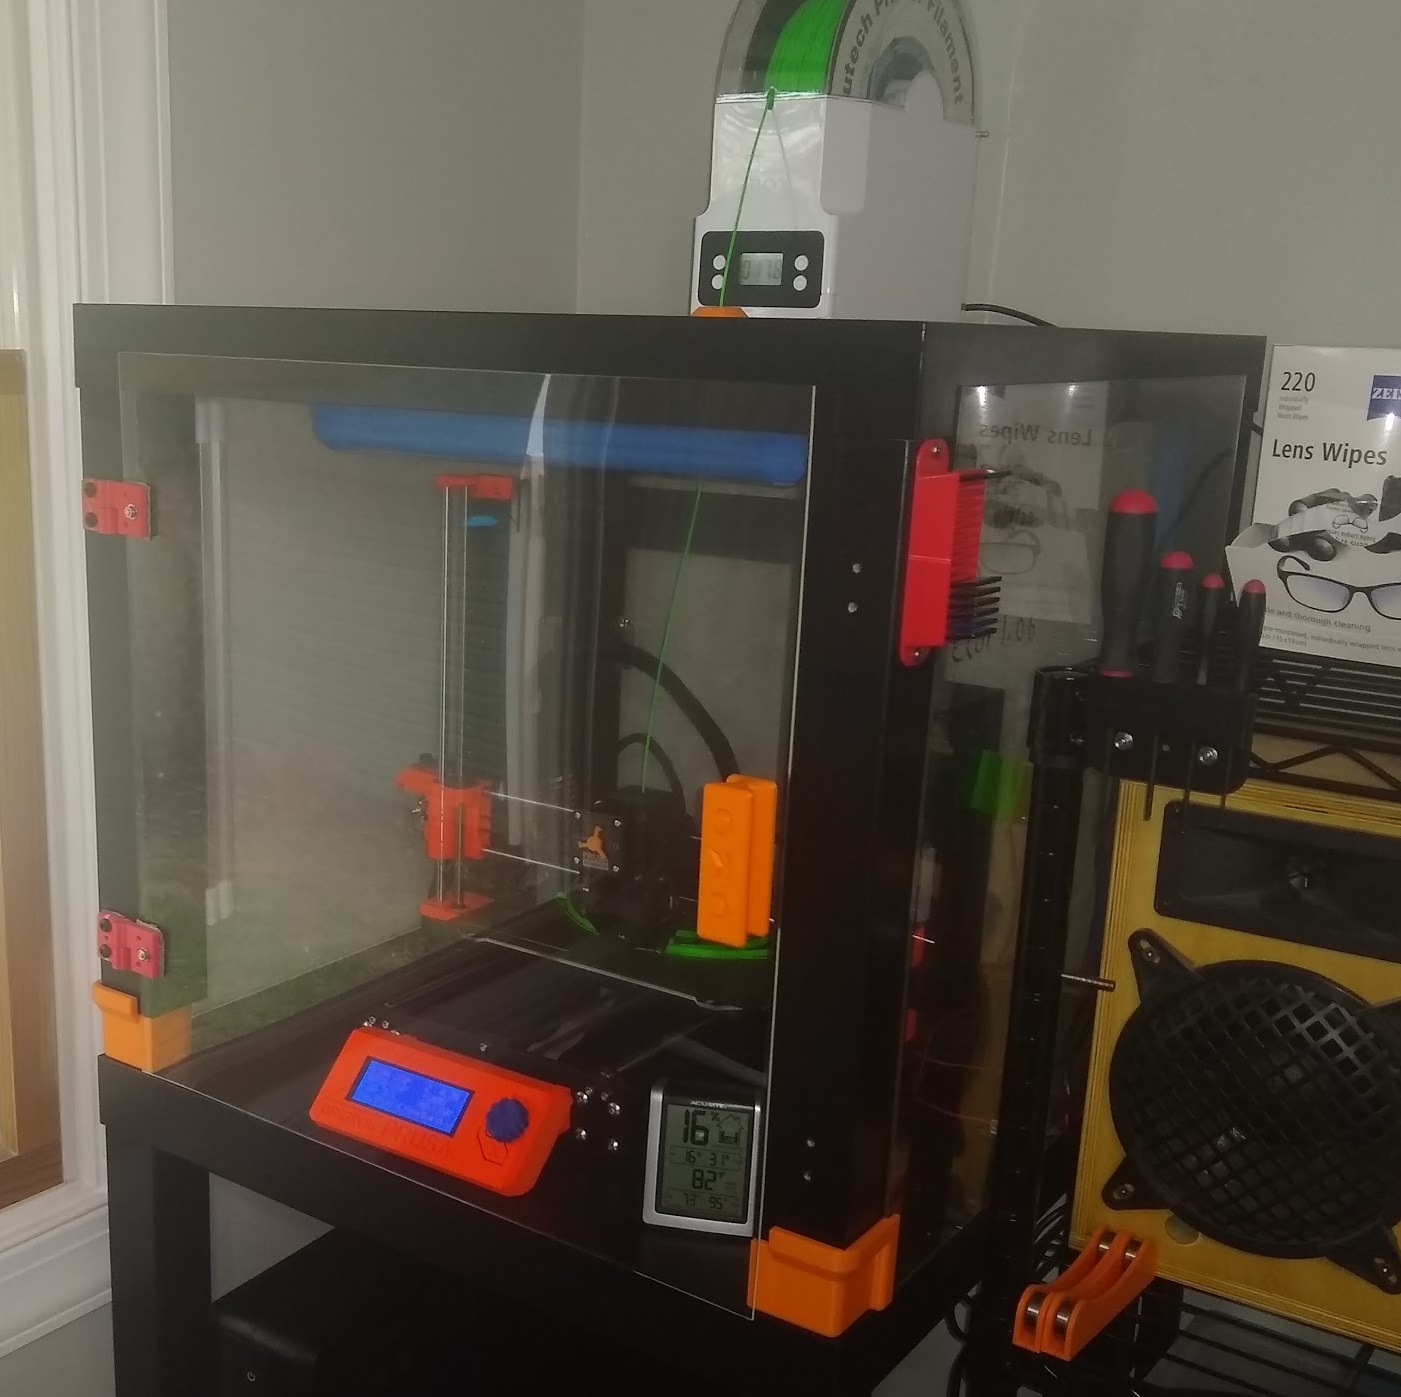
This is a description of my 3d printing setup and how I am able to reliably print ABS objects.
My Prusa MK3S Printer
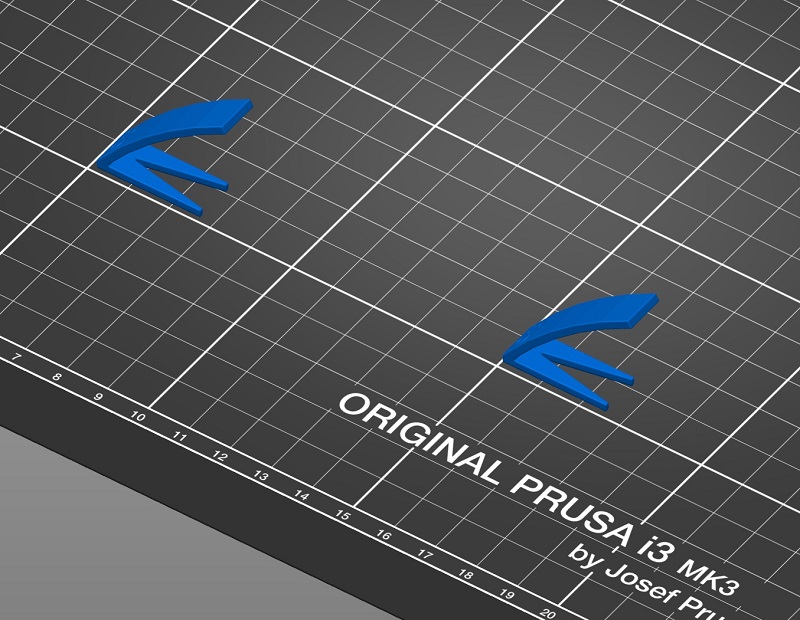
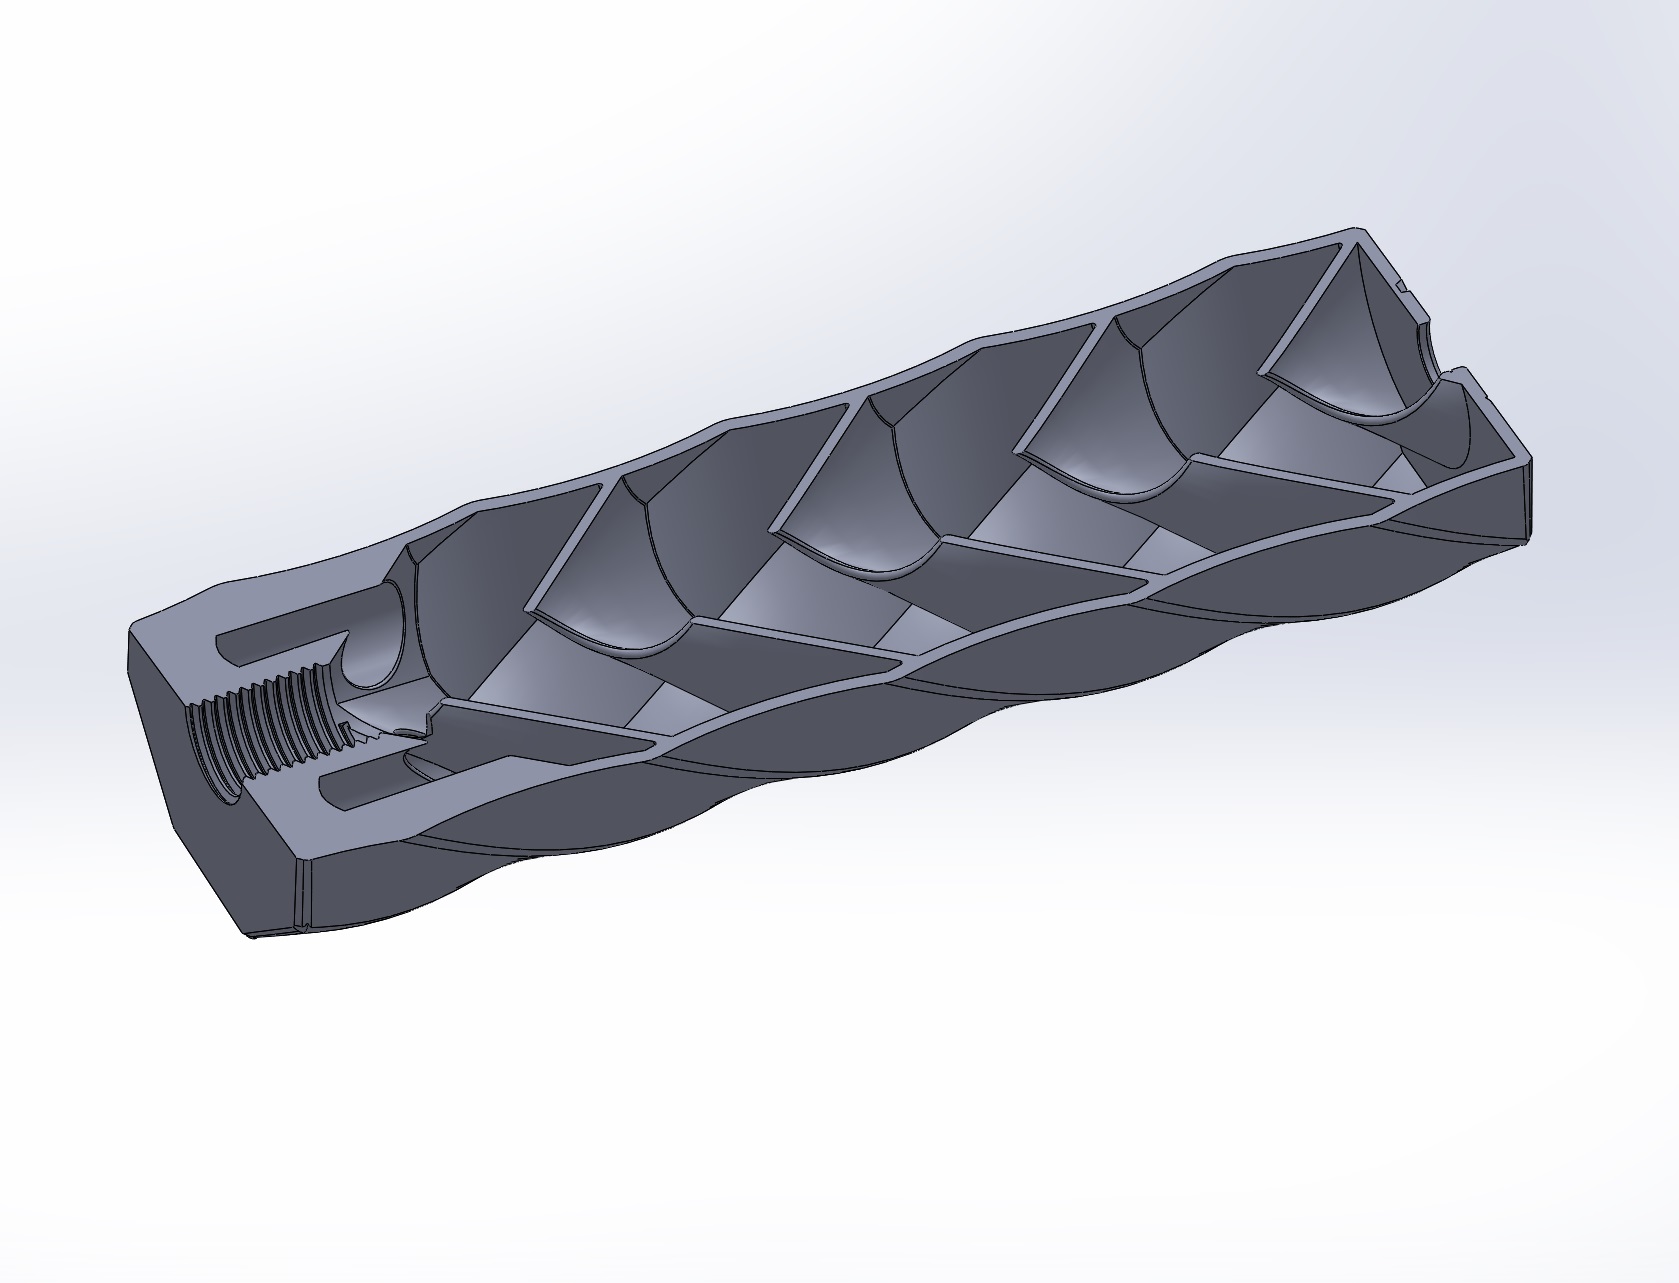
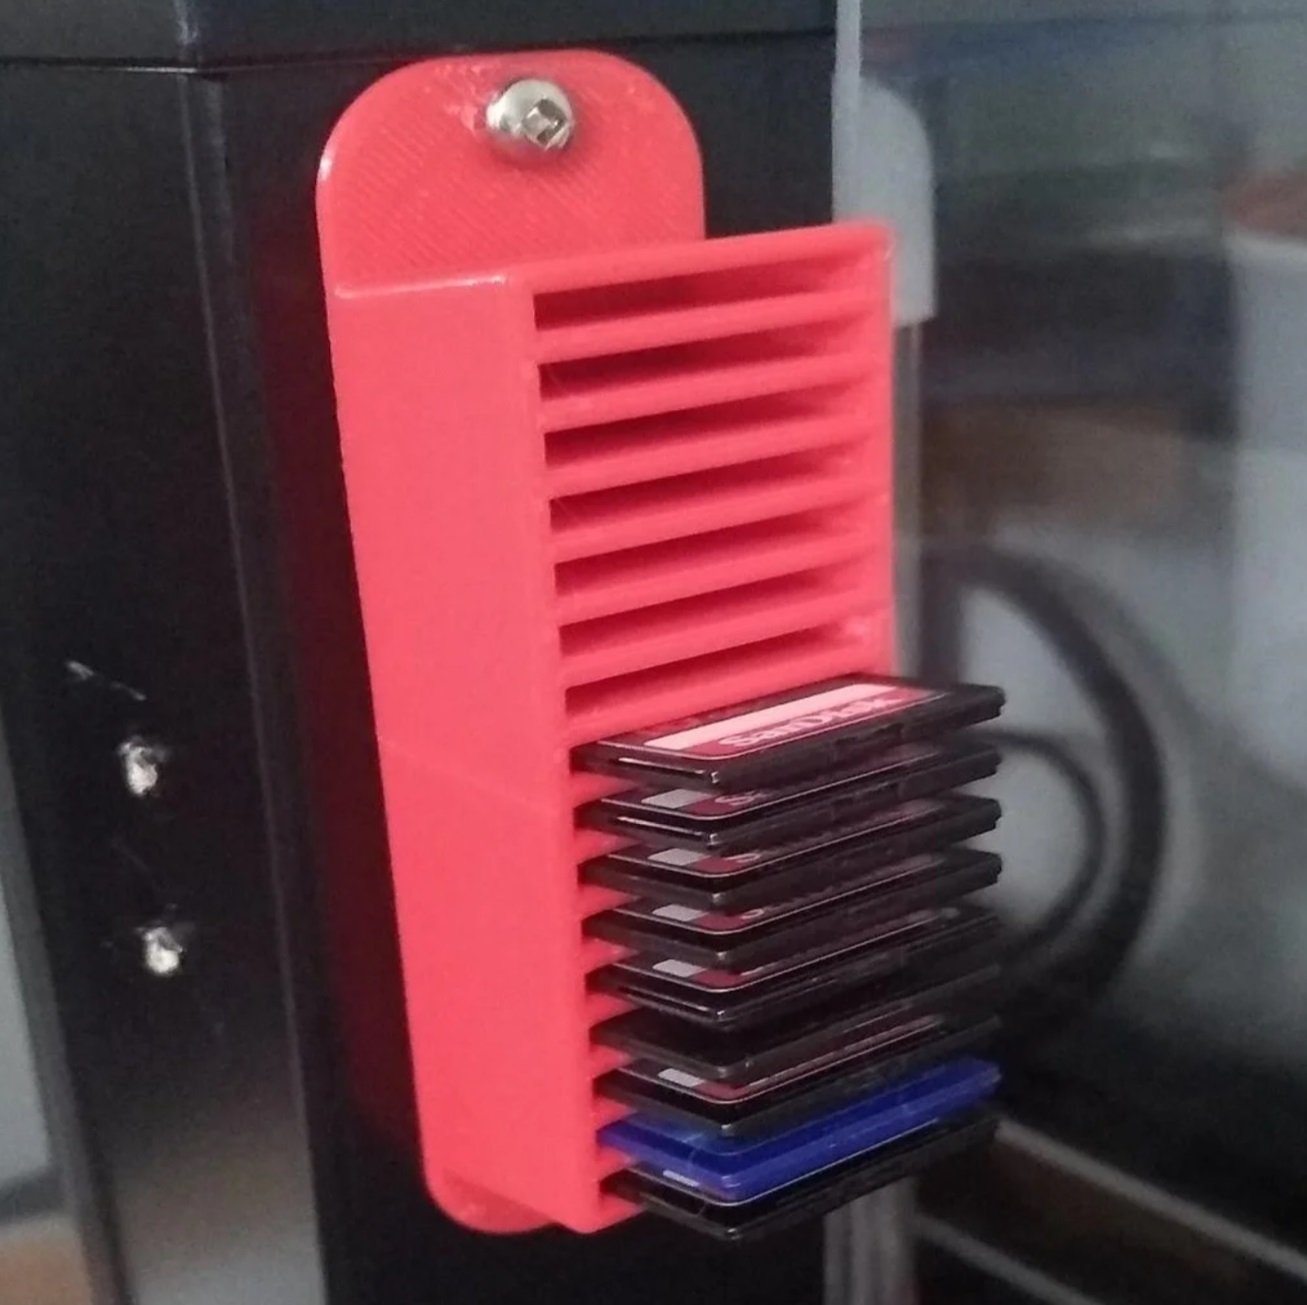
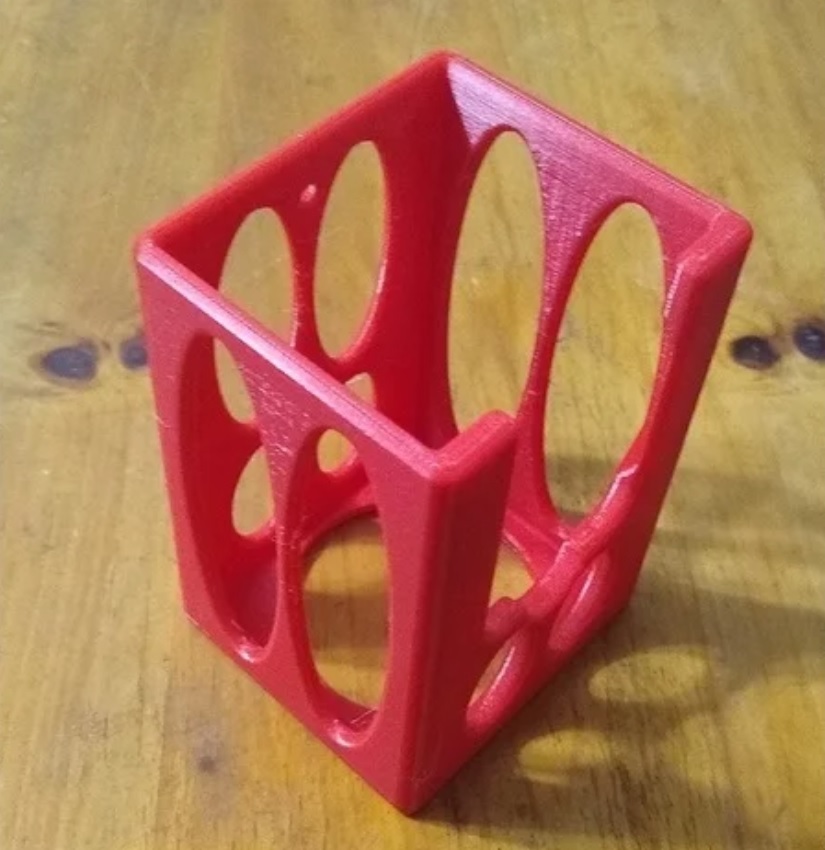
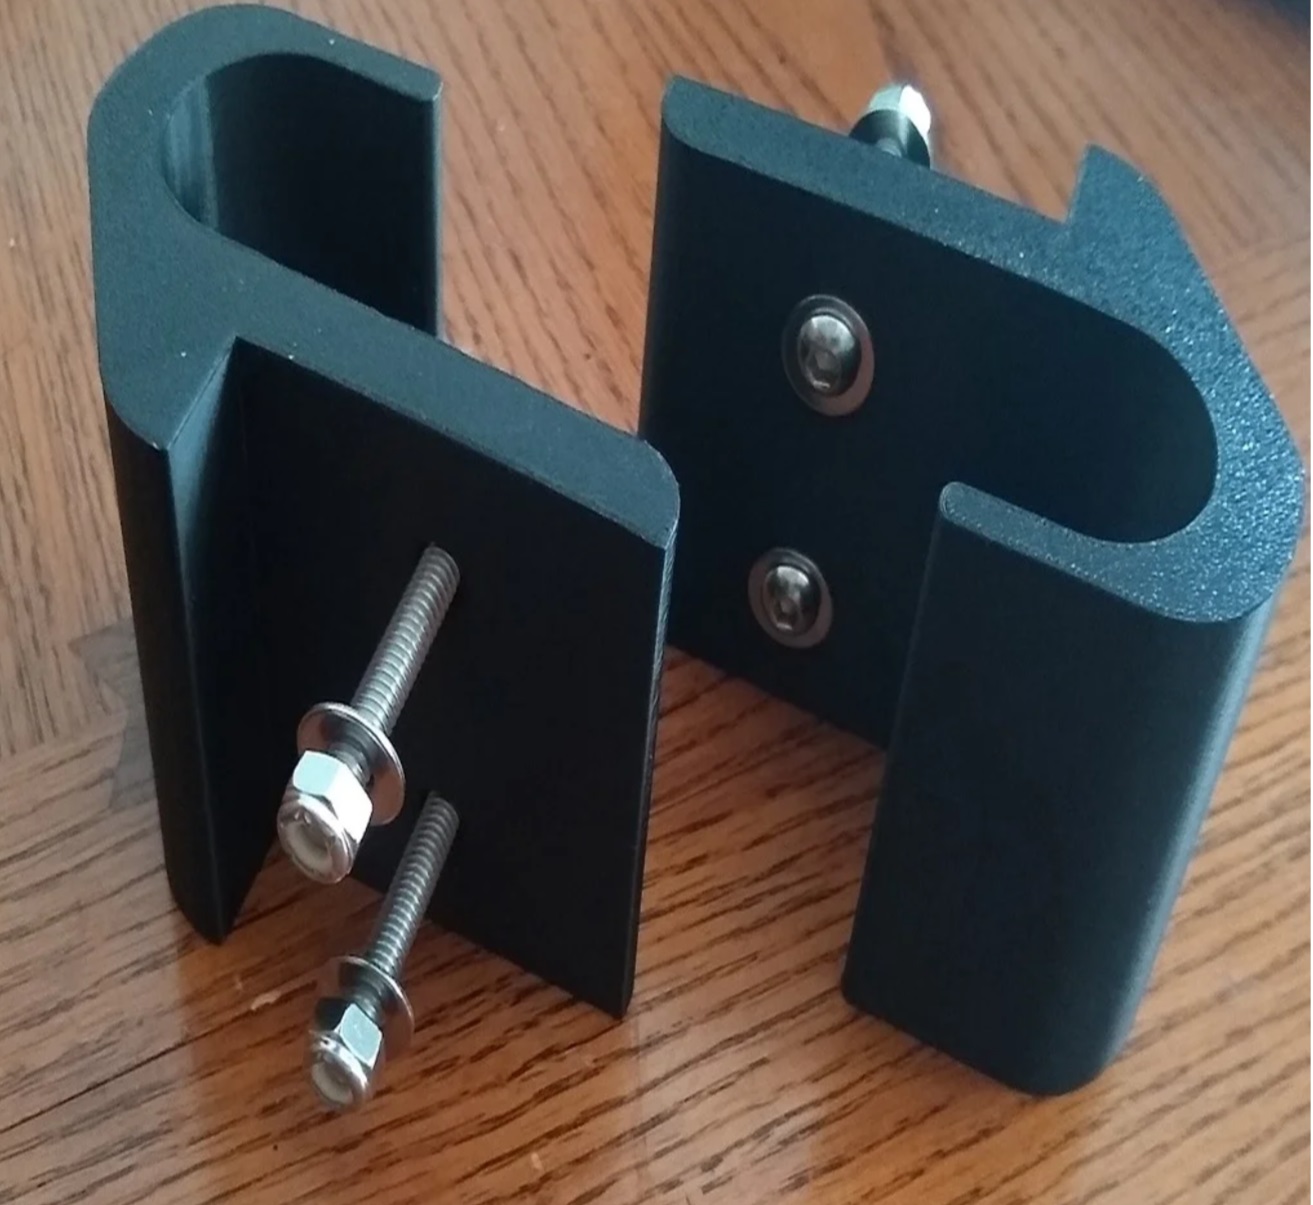
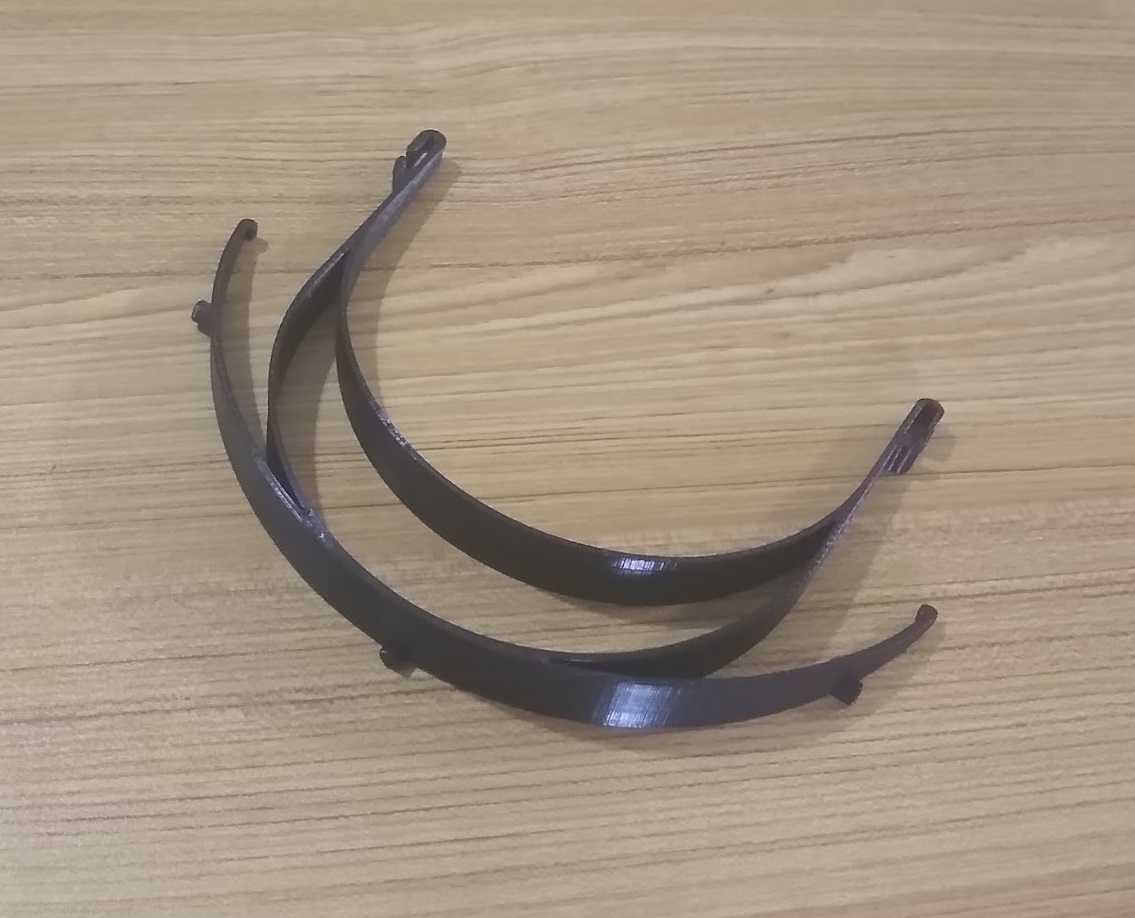
Here are some examples of my designs.
All of these successfully printed on my MK3S using ABS filament.
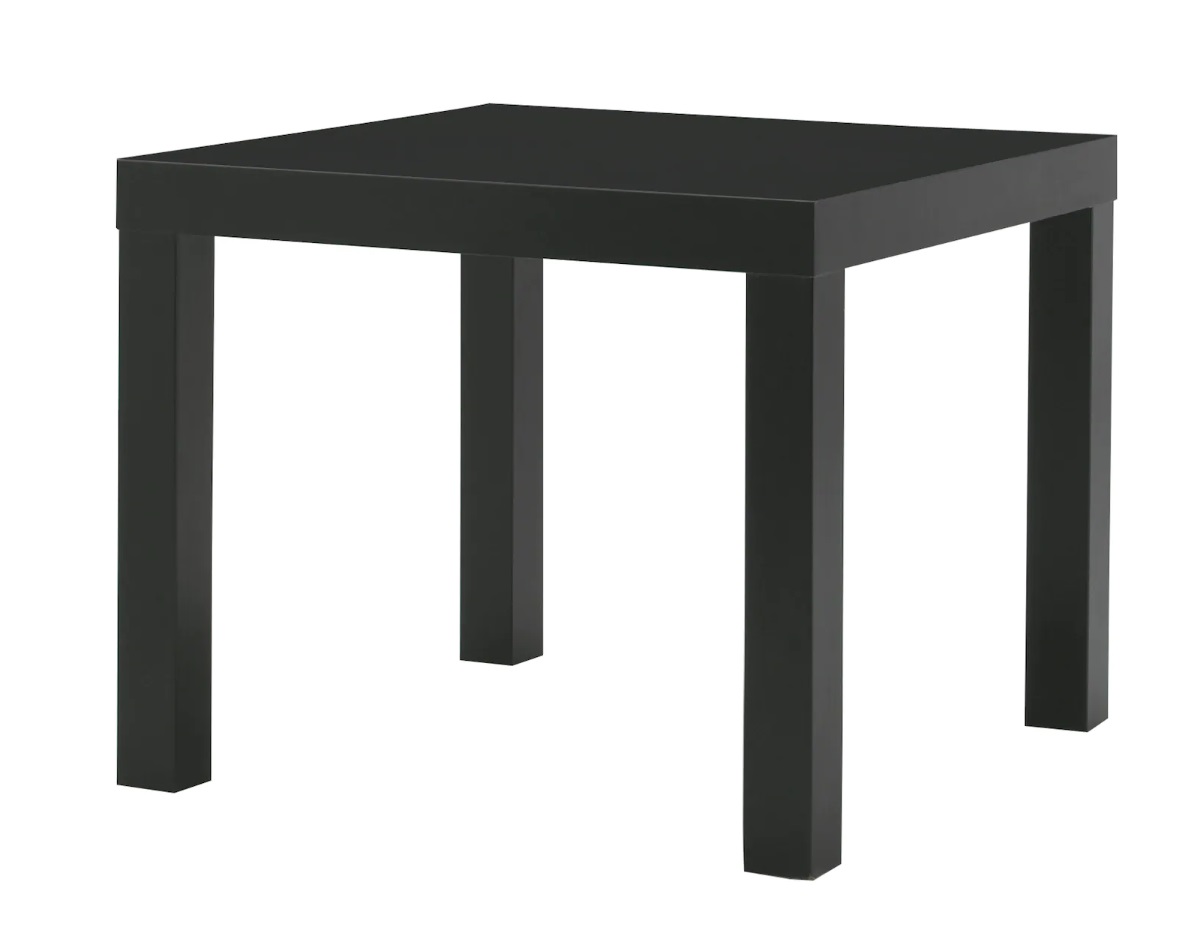
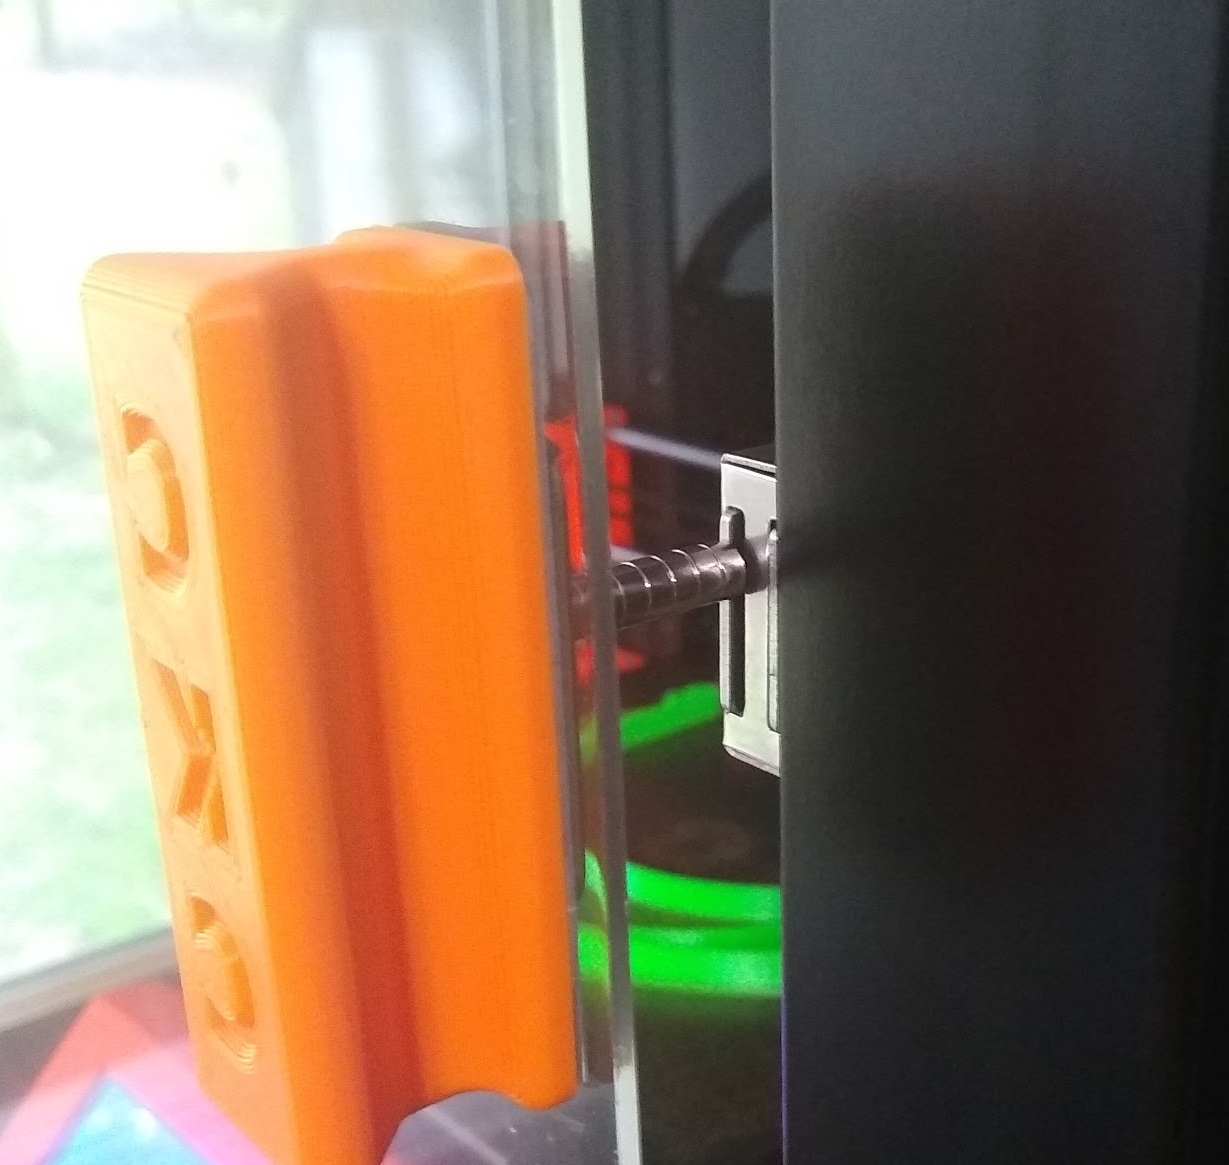
The Enclosure
My enclosure is made from the IKEA "lack" tables that I bought for about $10 each. I printed my own hinges and legs for the tables and mounted the acrylic sheet using magnetic door catches so that they are removeable. There are many pages describing how to make 3d printer enclosures from IKEA "lack" tables.
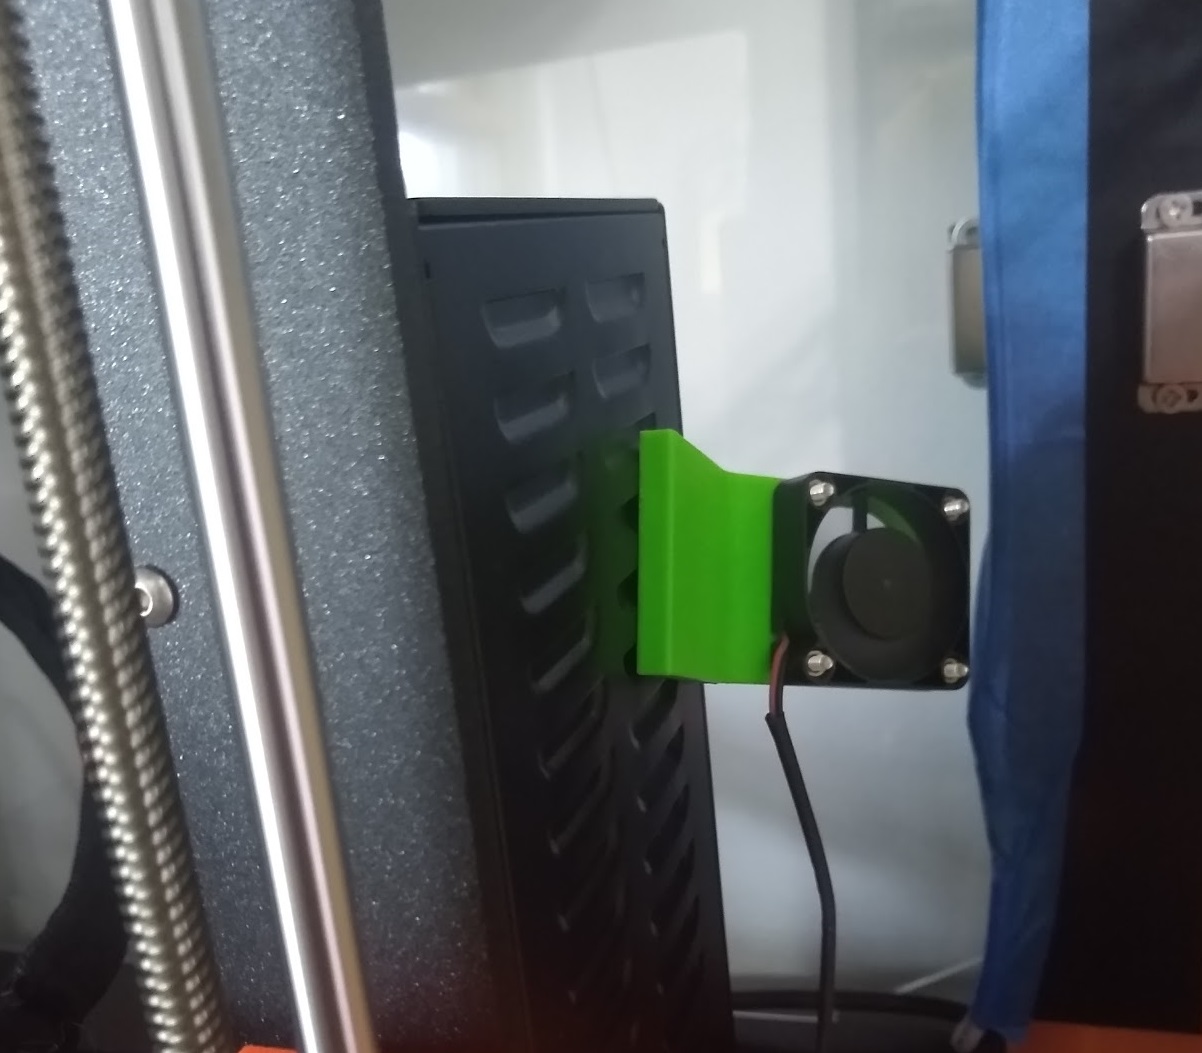
Enclosure Airflow & Temperature Management
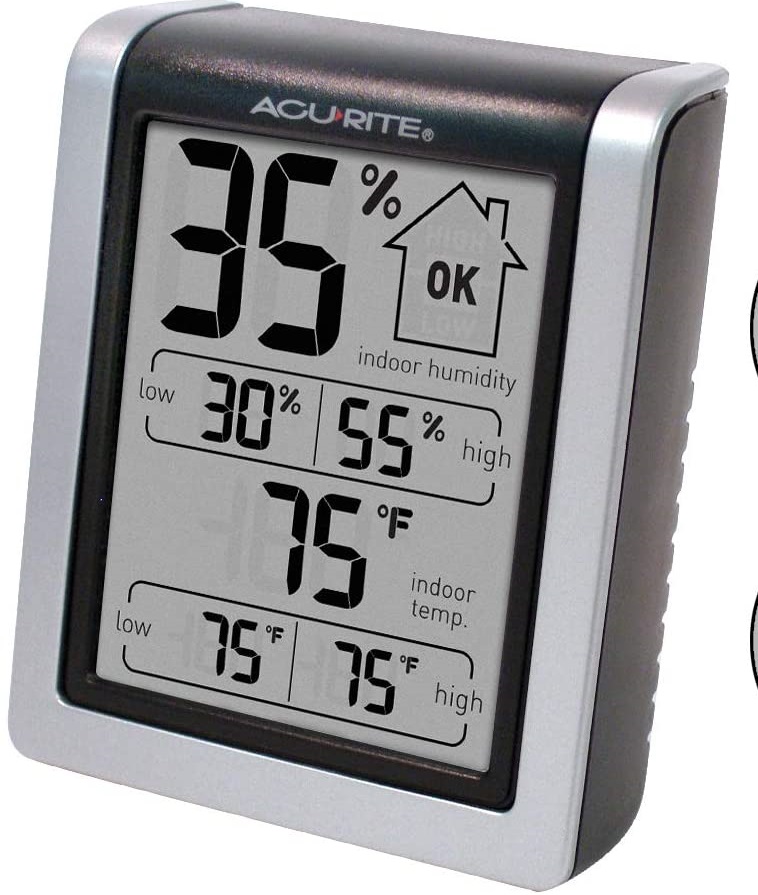
I use a combination of a small 24v fan and propping open the door using small magnets to maintain a constant, uniform temperature in the enclosure. I can adjust how far the front door is propped open by using a different number of magnets. I use a small thermometer/hygrometer inside of the enclosure to measure the environment. For me, about 85-95° fahrenheit works well for ABS.
Without the fan, I was getting "hot spots" on the prints where there was vertical "melting". This is almost always on the back of the print (farthest away from the print head's cooling fan).
The Build Sheet
I fought with getting good bed adhesion for a long time with my previous Solidoodle 4 printer. I tried: kapton tape, blue painters tape, glass, abs slurry, glue stick, etc. Some of them worked better than other but nothing was great until I got the Prusa MK3S printer with the PEI smooth build plate. ABS stuck to it well and usually didn't require a brim. I tried to get the textured plate from Prusa but they were sold out with no backorders allowed. I took a chance and bought a textured PEI powder-coated build plate from Amazon from "THEKKIINNGG." This thing has been great with ABS. Adhesion is good and, as a bonus, the parts self-release when the plate cools down. I have renewed the first plate once with acetone and it is as good as new. Between prints, I use an alcohol wipe to clean any dust/debris/fingermarks from the plate. I have been using Zeiss Lens wipes since they are cheap and easy to get.
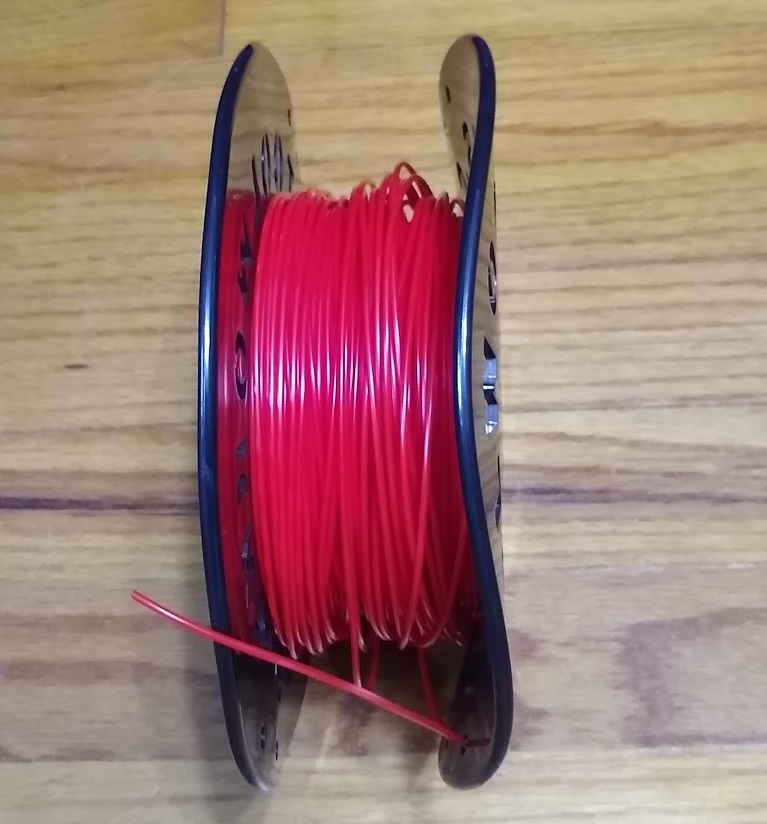
Filament
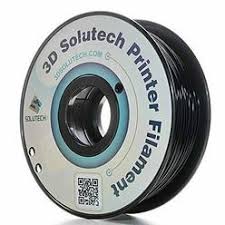
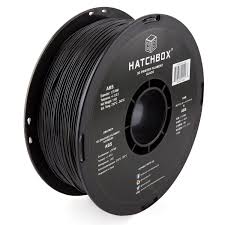
Early on, I found that Solutech ABS is inexpensive and works well for my printer. Lately, due to availability issues, I have switched to Hatchbox ABS which I find to be equivalent. It is best to find a good brand that works for you and stick with it. There are many possible formulations of ABS filament and they may have different nozzle, bed, and ambient temperatures with which they work best. ABS isn't as bad as PLA for absorbing moisture but it is still hydroscopic and should be stored in a sealed container or bag with a dessicant pouch. If you suspect that you have moisture in your filament, you can bake it in an oven (electric convection is preferred) for 2-3 hours at 200° or use a food dehydrator.
I use indicating dessicant packets so I can tell when they need to be recharged (baked/microwaved). These packets turn from blue to pink when they are no longer effective.
Filament Holder
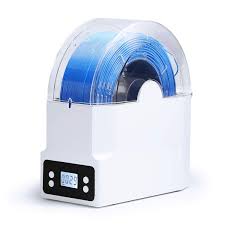
Out of an abundance of caution and sometimes getting unexpected results that may or may not have been moisture, I purchased and use an eSUN Filament box. This box has a heater, fan, and scale inside of it. I turn it on maximum heat for the longest time (18 hours).
Temperature
For Solutech ABS: 250° Extruder Temperature (all layers), 100° bed temp (first layer), 110° bed temp (remaining layers).
I enable auto cooling to ONLY slow down layers. Filament Settings -> Cooling
Enable fan if print time is below: 0 Seconds
Slow down if layer print time is below: 10 Seconds
Min print speed: 10 mm/s
Prusa Slicer Settings
I print 95% of my prints using a 0.3mm layer height and have the print setting set up for strength because I tend to print functional (not art) objects that require strong mechanical properties
This configuration bundle will allow you to directly import my current settings into Prusa Slicer (2.2.0). You can do a File->Import->Import Config Bundle. Then the below presets should show up in your menu.
Print Settings:
0.10mm FINE MK3S
0.20mm STRENGTH MK3S
0.30mm STRENGTH MK3S
Filament Settings:
Solutech ABS
These are for a Prusa MK3S with stock motors (1.8°) and Linear Advance 1.0 (not 1.5)
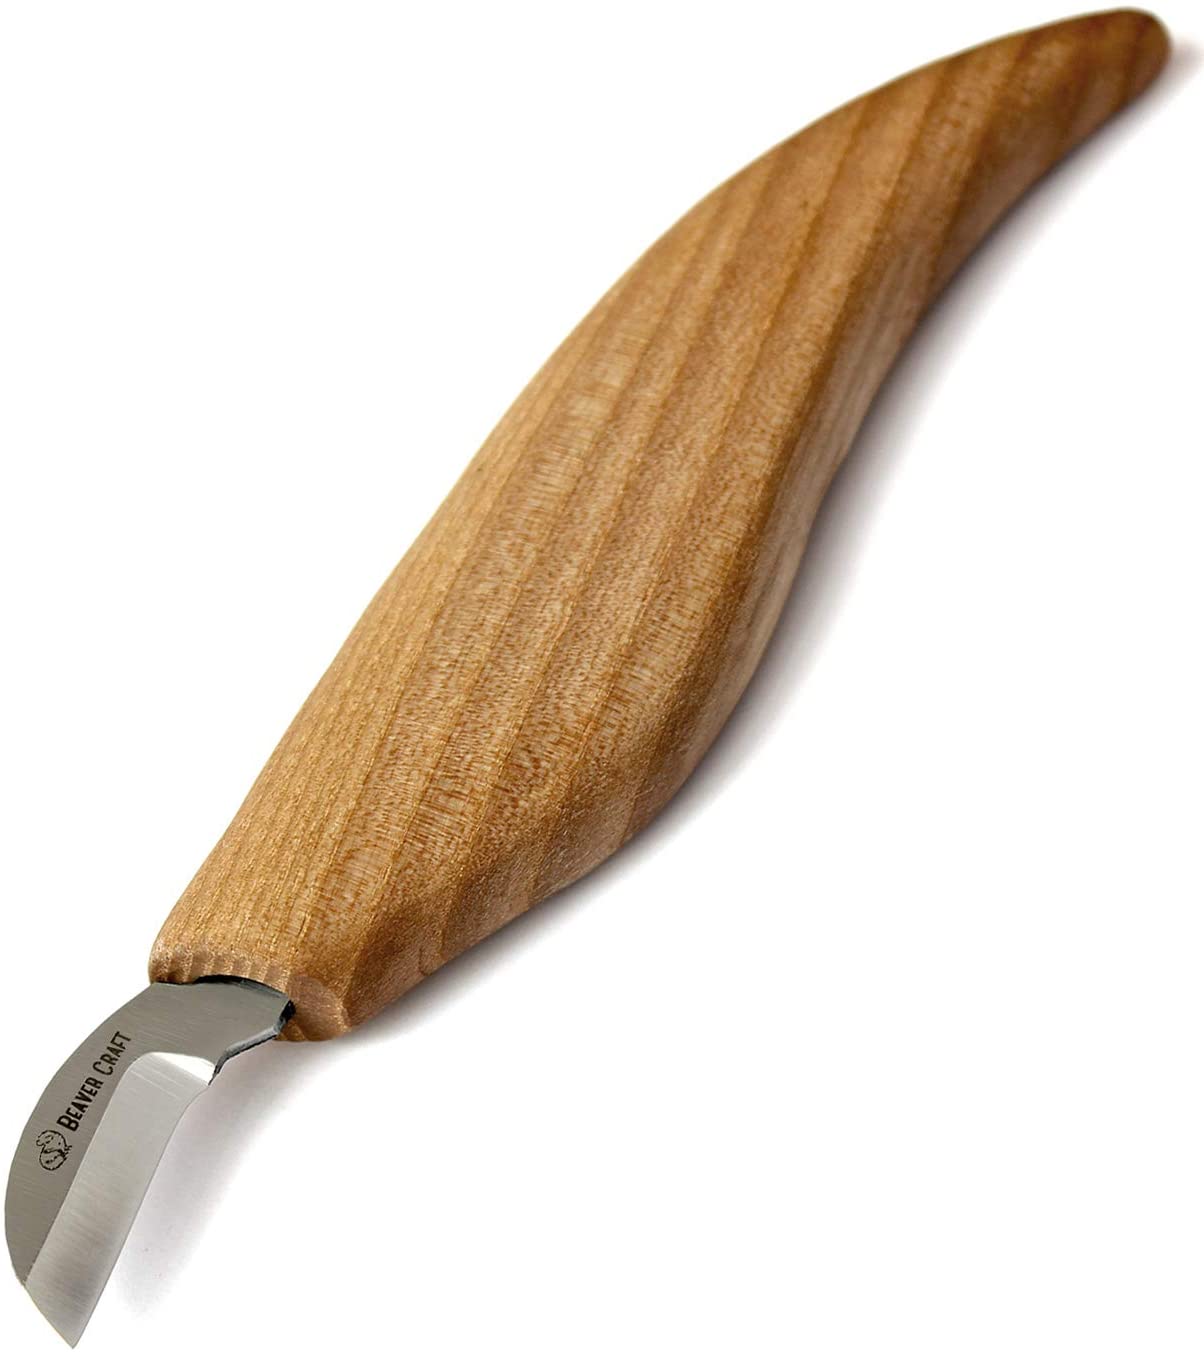
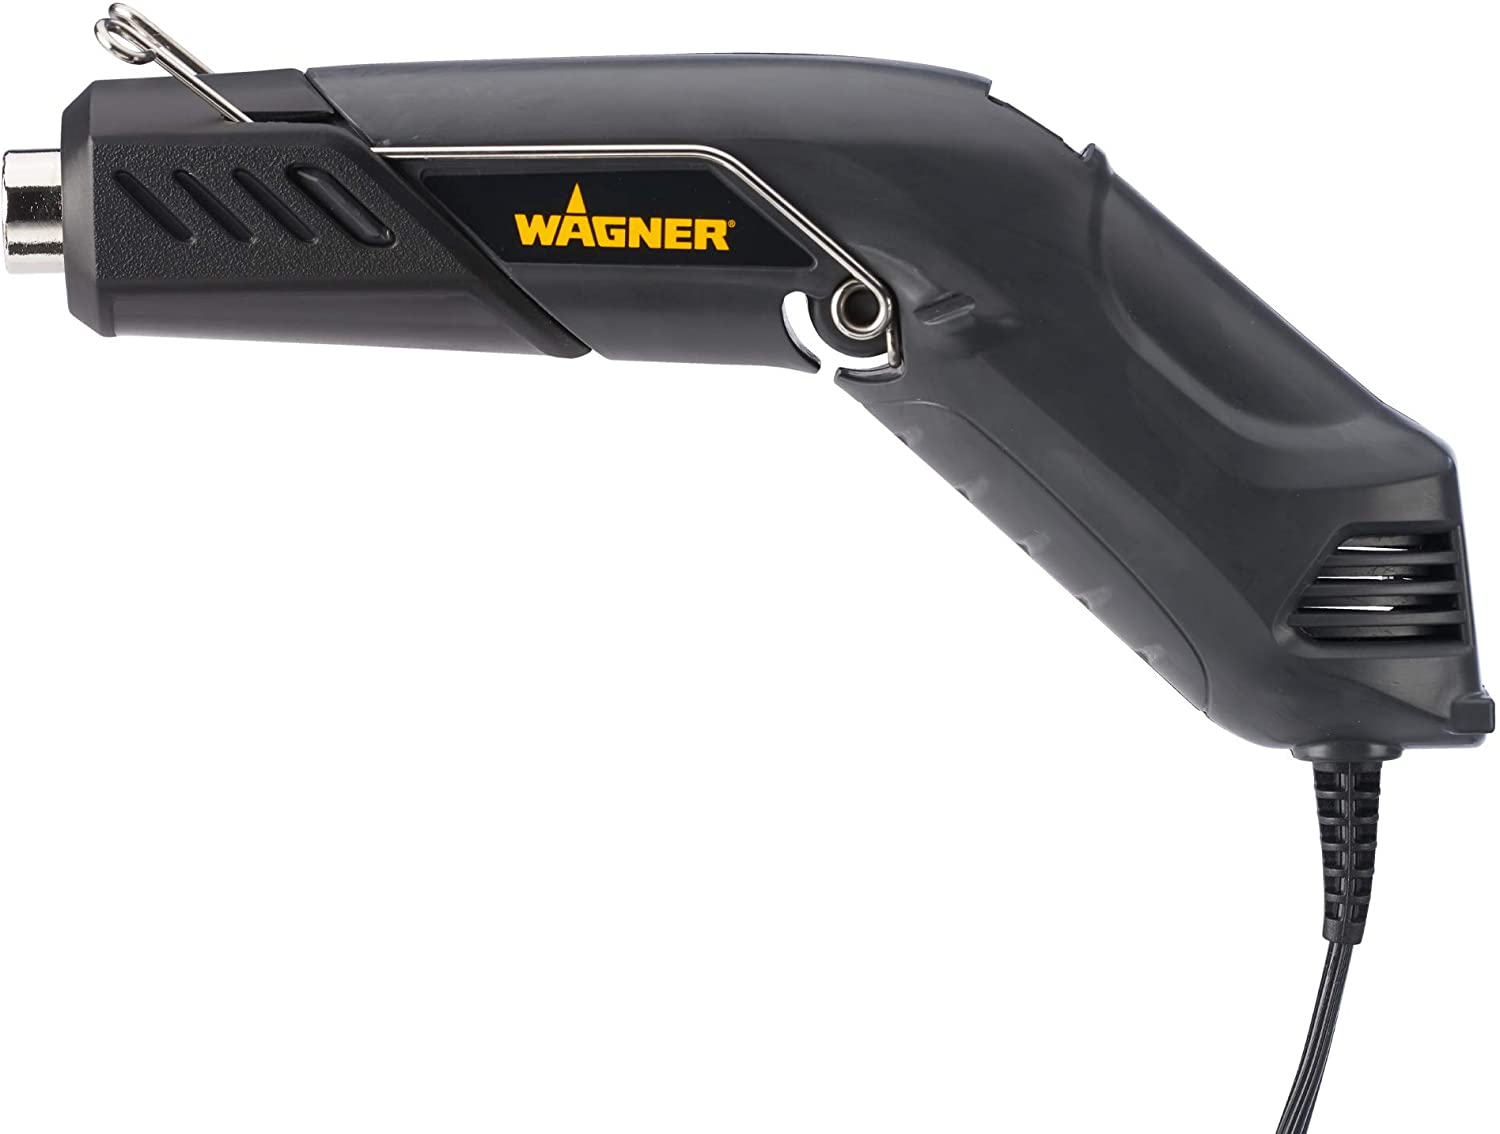
I usually print without a brim or supports since I've designed parts without large overhangs, angles, etc. Some trimming using a utility knife or chip carving knife is usually required. I then use a small heat gun to go over the cut/scraped edges which make them smooth again and removes any stringing that may have happened.
Other Adjustments and Modifications
Idler Screw Adjustment
I have my idler screw adjusted with less pressure to reduce the deformation of the filament. The small ridges imparted onto the filament cause pulsing pressure in the nozzle.
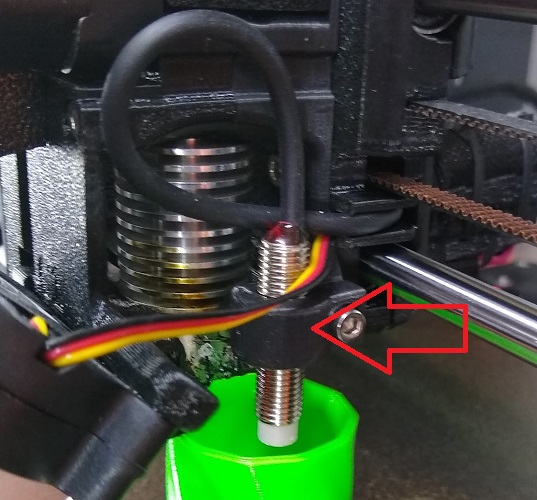
PINDA Mount Melting
I also had an issue with the PINDA probe mount melting. This caused the initial z-height to keep getting higher as the PINDA drooped. I think that this was due to a design issue and being made from PETG at 20% infil. I printed the new R5 version of the extruder body (the part that has the PINDA mount) in ABS at 70% infil. I haven't had any issues since I installed the new part.