Powder Measure Adjustment Knob for a Dillon XL650 / RB550 Reloader

I got tired of finding/using a wrench to adjust the powder measure so I made this

I got tired of finding/using a wrench to adjust the powder measure so I made this
To reduce the possibility of breakage, I added a post to limit over-travel.
The files for the upgraded programming clip are available here as SLDPRT and STL files.
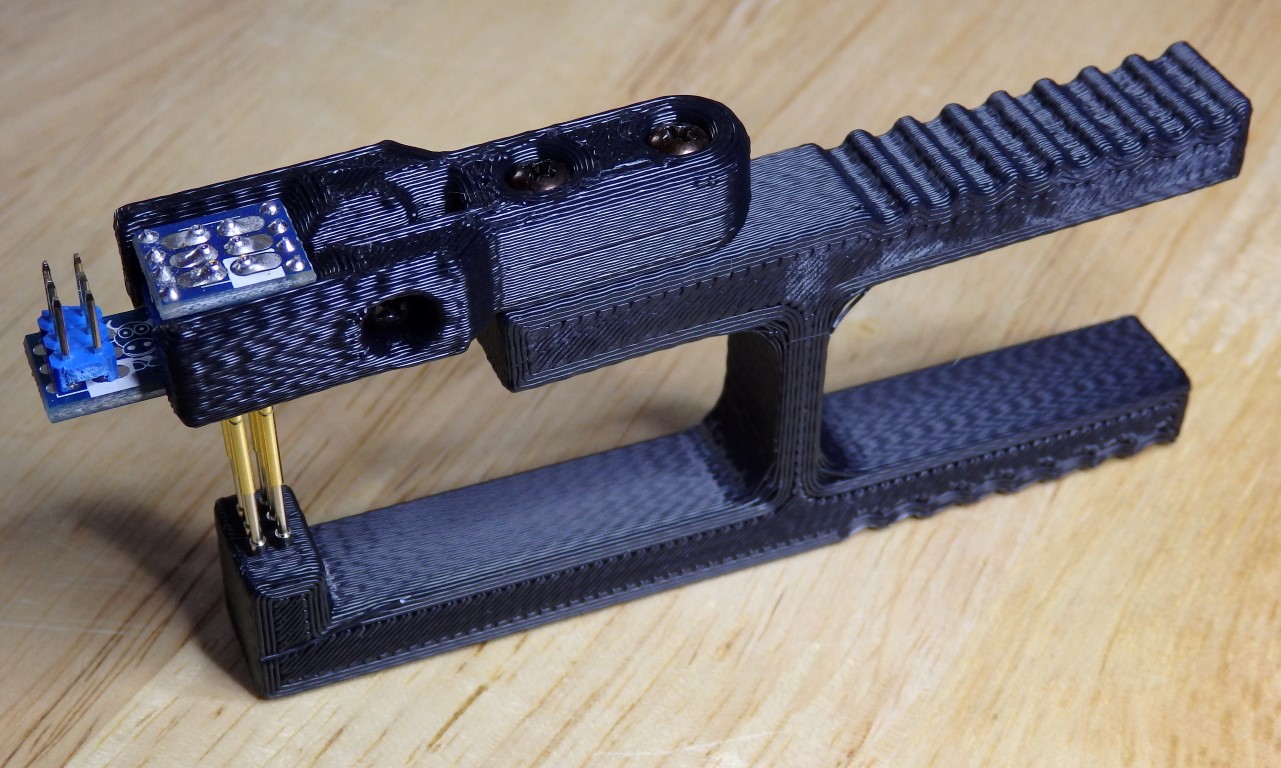
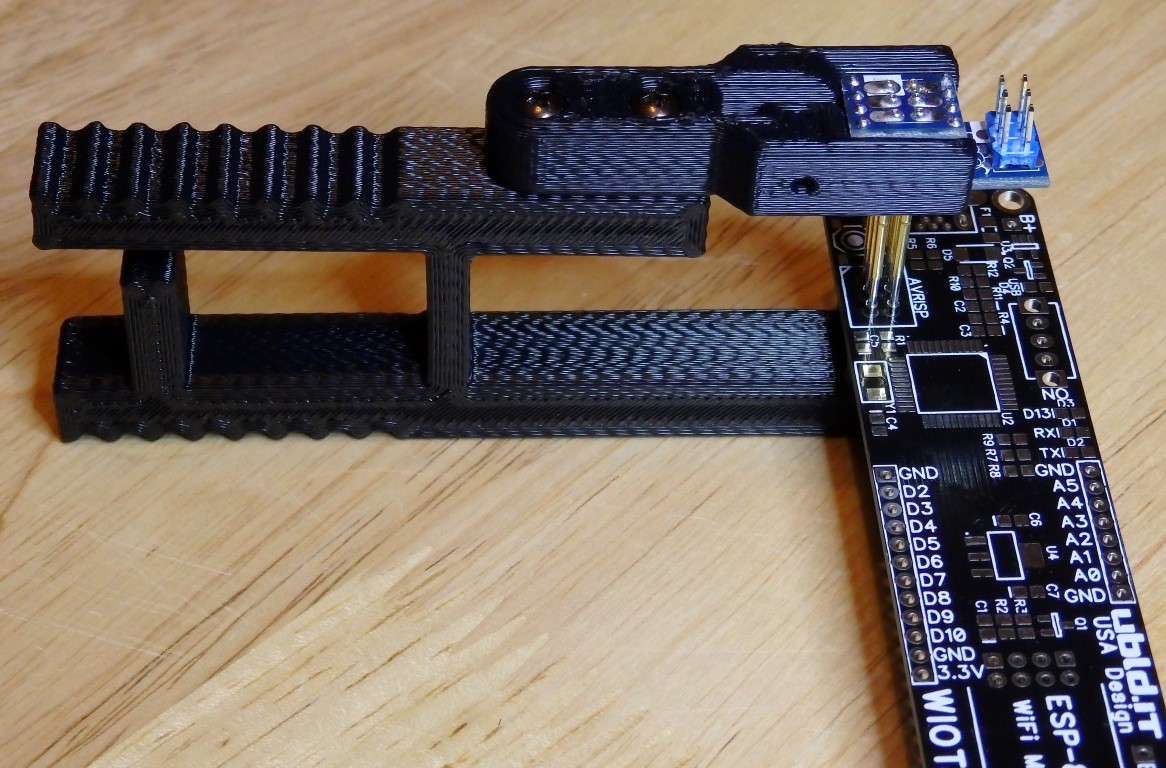
We started producing our WIOT boards and wanted to ship them programmed but without the programming header installed (since some people may want to keep the board low-profile). We tried holding the 2x6 header in place then ended up buying some pogo-pin adapters from Tindie but it isn't comfortable to hold while the board is being programmed.
I designed this clip and adapter to help and it works great so I thought I would share the design. All screws are #4 x 1/2" Black Oxide Sheet Metal Screws.

The files for the programming clip are available here as SLDPRT and STL files.
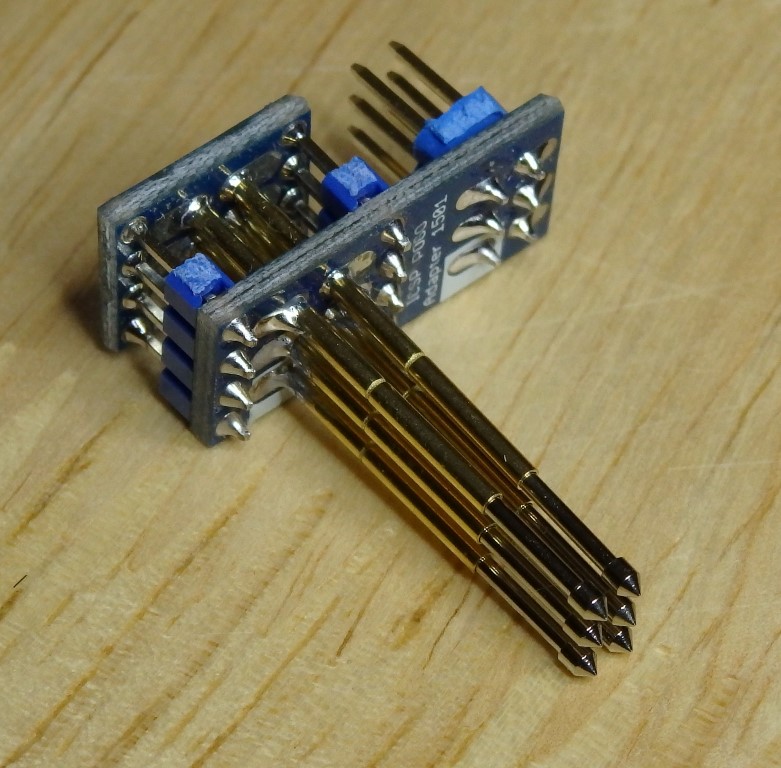
The files for the adaptor are available here as SLDPRT and STL files.
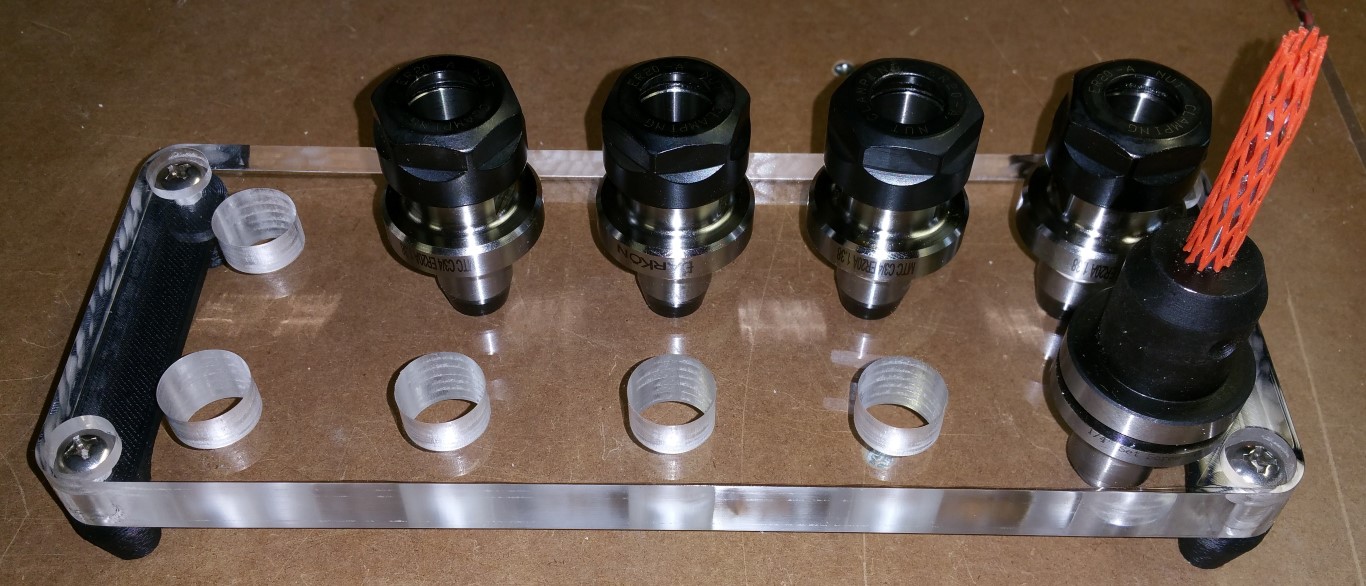
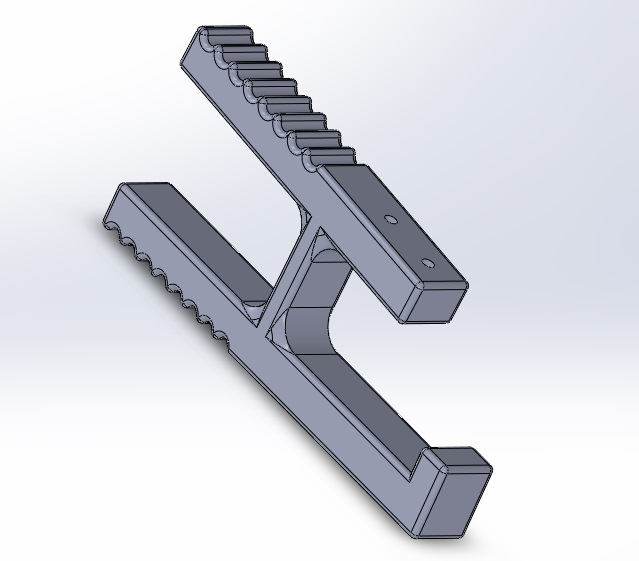
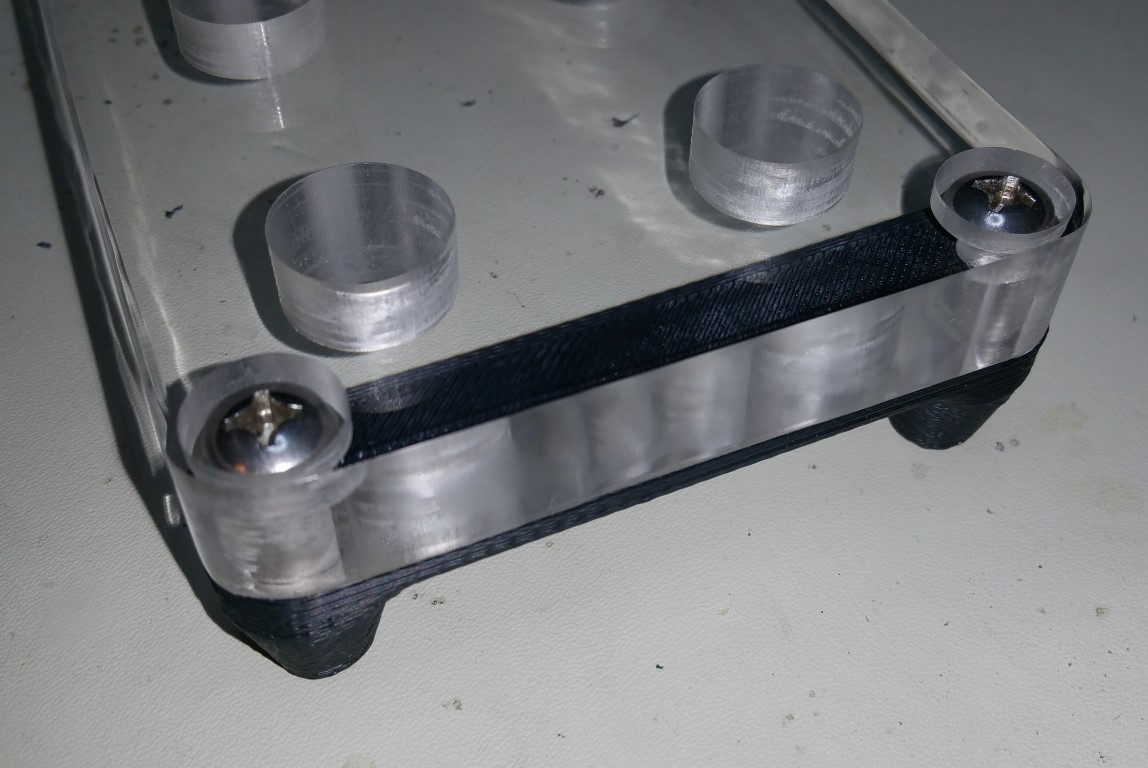
I was looking for a tool rack for my Darkon toolholders but didn't see anything commercially available. I came across this video on Youtube that uses thick acrylic as the main part. I then designed my own from this inspiration but made it a bit smaller (holds 10 of them) and used 3D-printed feet for it
The files for the main part are available here as SLDPRT, DXF, and STL files.
The files for the feet are available here as SLDPRT and STL files.
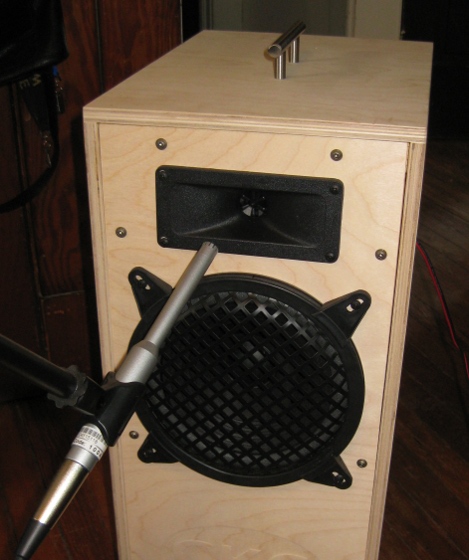
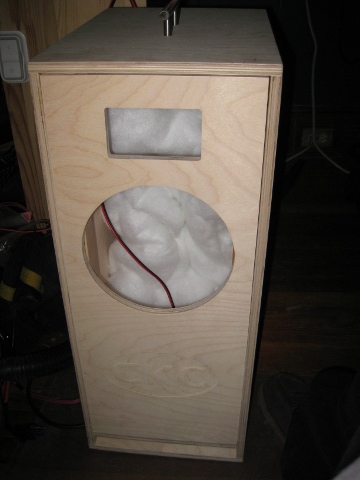
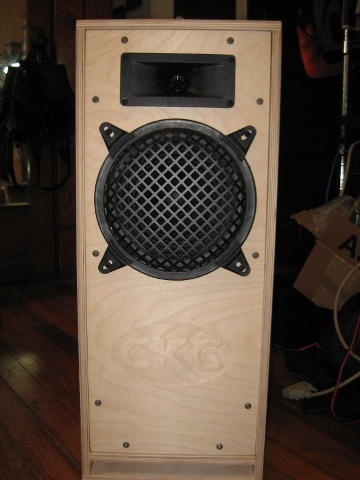
I built this speaker with the idea that a good sounding speaker didn't need to use expensive components. I plan to use this a for background music while I am working at the computer/workbench.
I have been doing some testing and the numbers look really good and it sounds great

Here is the MEASURED frequency response which is flat (+/- 1dB) between 50Hz and 15KHz. I'm very surprised by the response coming up so flat with this design. The testing was done with the microphone about 4 feet away in my non-soundproof office. Measurements were taken using a Soundblaster SB0490 USB sound card for the output and a Behringer ECM8000 Reference Microphone connected to a Blue Icicle (USB audio input). The sweep was done using DFFS3 software(trial mode). I like this software and would normally purchase it but I can't justify the $330 price. I have been looking at TrueRTA but it doesn't seem to have a slow sweep option.

Specifications
| External Dimensions |
24 15/16" Tall x 14 13/16" Deep x 10 3/16" Wide |
| Internal Dimensions | 24" Tall x 13 3/4" Deep x 9 1/4" Wide |
| Internal Volume | 1.683 cu. ft. (not including vent/speakers/etc.) |
| Port | Rectangular 9 1/4" Wide x 1" Tall x 4" Deep |
| Fb | 55Hz |
| Power Handling | 60Watts RMS |
| Impedance | 8 Ohms |
| Damping Material | Moderate Damping with Polyester Batting |
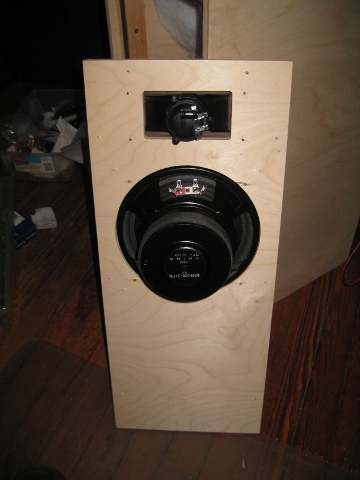
This was built in a 2-way configuration with a 3500Hz crossover point.
Parts List
| 1/2" Baltic Birch Plywood(actually 12mm) | Free (Already Had) |
| Goldwood 2" x 5" Piezo Tweeter (Parts Express 270-041) | $2.25 |
| GRS 8" Full-range Speaker (Parts Express 292-430) | $12.50 |
| Jansten 0.35mH Inductor (Parts Express 255-030) | $4.42 |
| 0.22uF 100V Capacitor (Parts Express 020-1840) | $0.29 |
| 100ohm 1 W Resistor (need 2 of 10 pack) (Parts Express 003-100) | $0.69 |
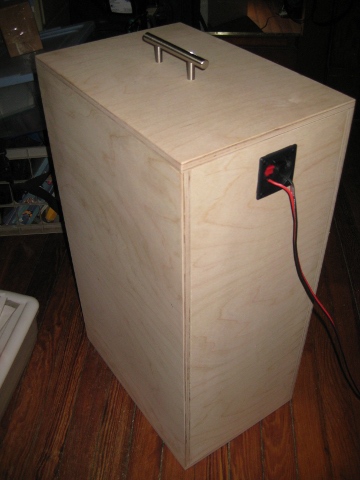
| Square Speaker Terminal (Parts Express 260-297) | $1.21 |
| Misc 18ga Wire | Free (Already Had) |
| Polyester Batting | Free (Already Had) |
| Handle (from old kitchen cabinet) | Free (Already Had) |
| Total | $21.36 |
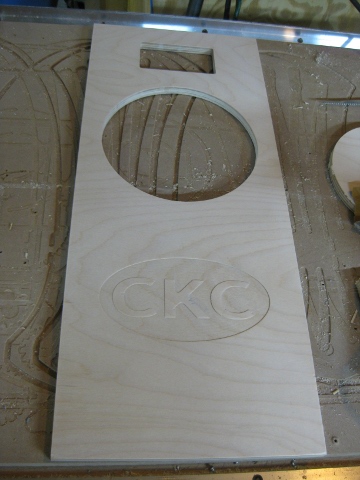
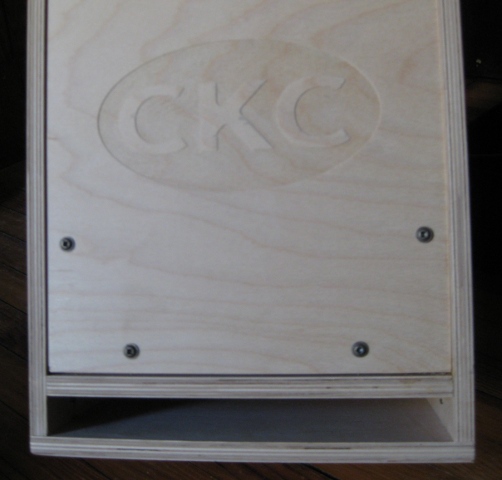
and one more photo for Jason who said the port didn't show up well:
and a video of the routing:
I saw an air powered engine while surfing on Youtube the other day and decided to build one that can be cut entirely from a single piece of Baltic Birch plywood using a CNC router. I designed and modelled this from scratch in Solidworks (so that I could post it without fear of copyright violations). Here are the Solidworks, STEP, and STL files for this design.
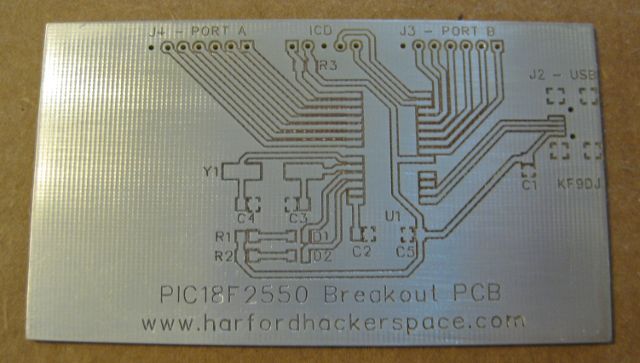
Here is a business card sized PIC18F2550 breakout PCB that was etched on my newest machine. The board is copper clad with tin plating (using Liquid Tin) The layout was done with FreePCB and the isolation routing was done with CopperCAM (CamBam can also do this now)
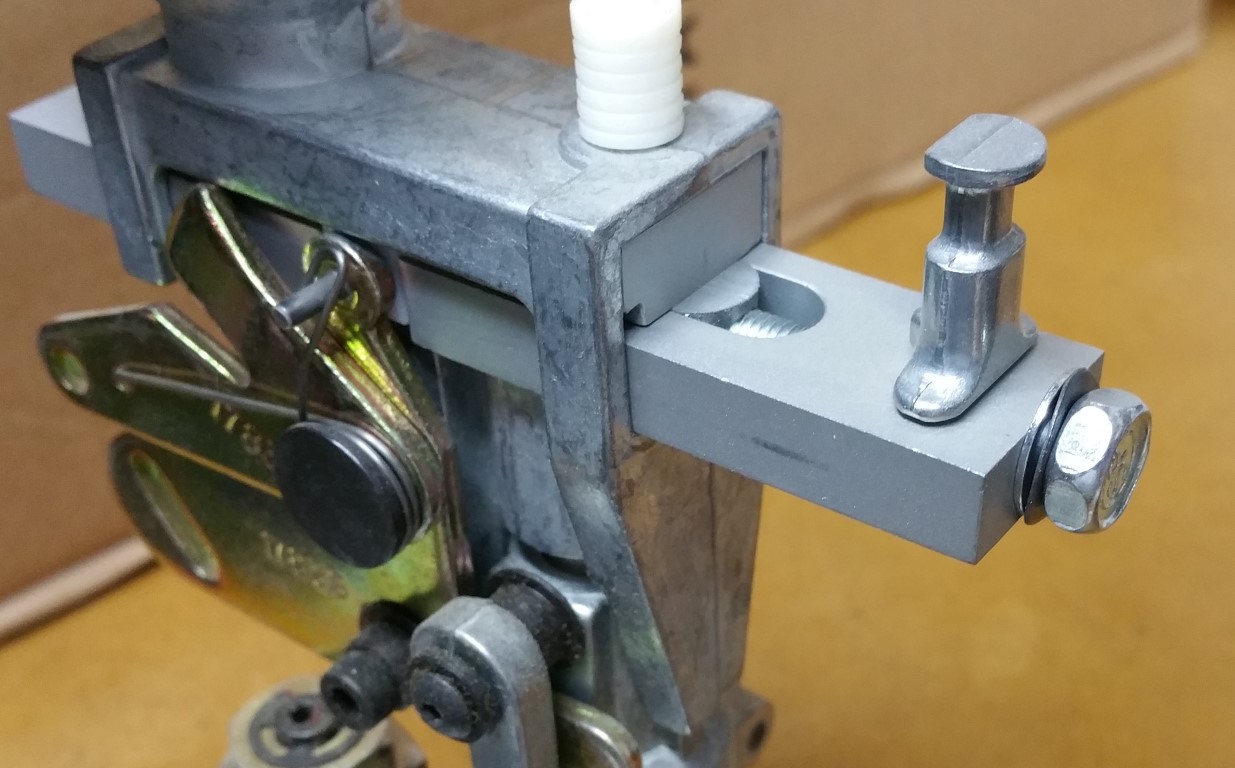
After trying several methods to fixture a banjo bridge blank (about .625" x 3") and having several of them come loose and fly off of the machine, I found that Sears has a small vise that is very well suited to holding parts and uses a cam-locking mechanism that allows for rapid setup. I have been using sacrificial blocks on the jaws and routing a slot into them that is slightly (.025")smaller than the piece.
Here is a video of the setup